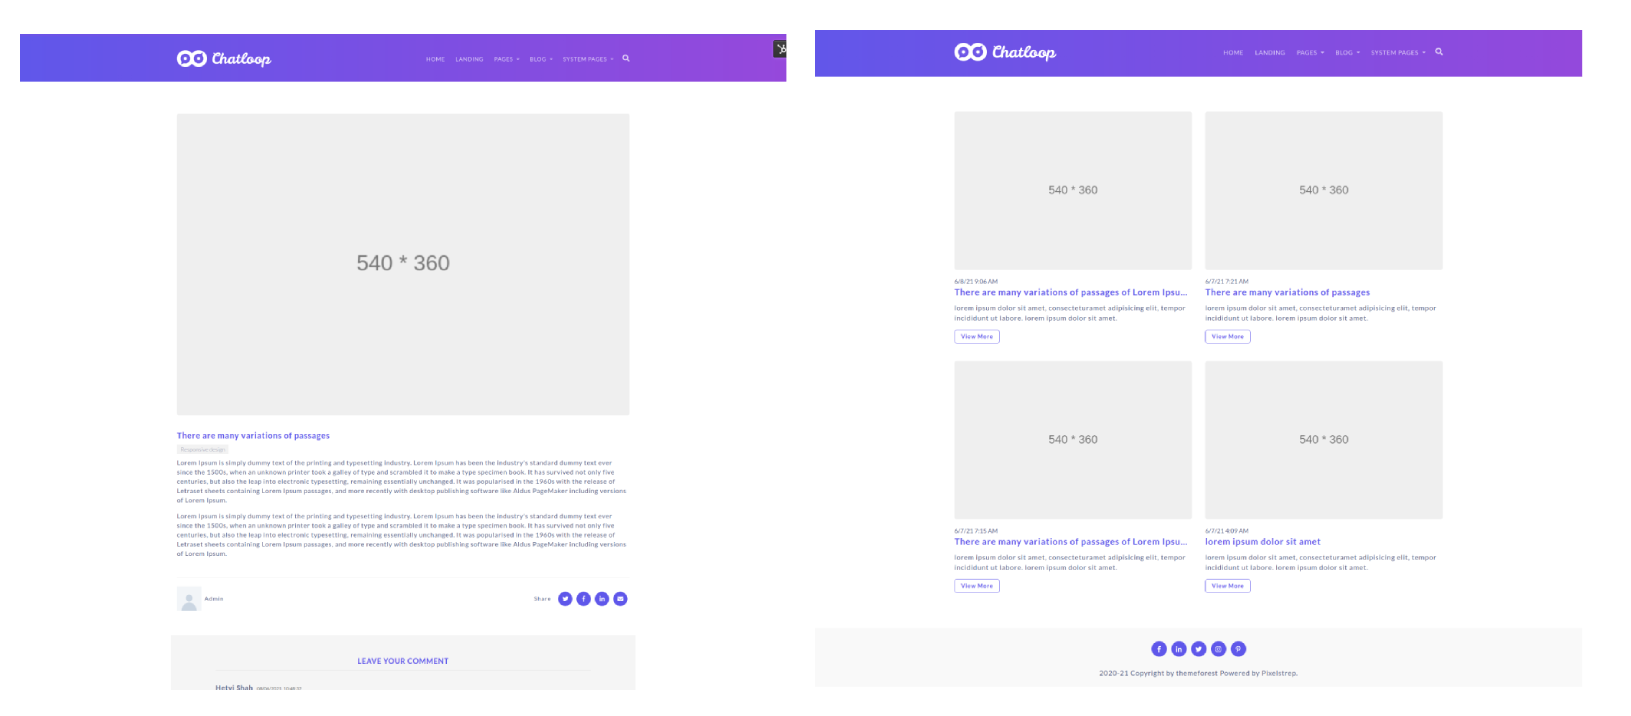
Chatloop Hubspot Theme
Welcome to Chatloop!
- We are pleased that you have chosen Chatloop theme for your site and we will not disappoint you with your choice. Chatloop is an excellent theme develop with a concise approach. The code written is a clean and well structured.
- Then also if you face any problem just go through these doc which cover your query and then also if you have any other query which is not covered in this doc feel free to create a support ticket, we will be happy to cater you and will get back to you in no time.
Installation
1. Pre-requisite:
- Before creating a theme you just need to go to CMS HubSpot and create your account , and if already their just go to this link to signin
2. Installation
- Extract Downloaded theme from themeforest
- Open your browser and signin with account which you have created for hubspot.
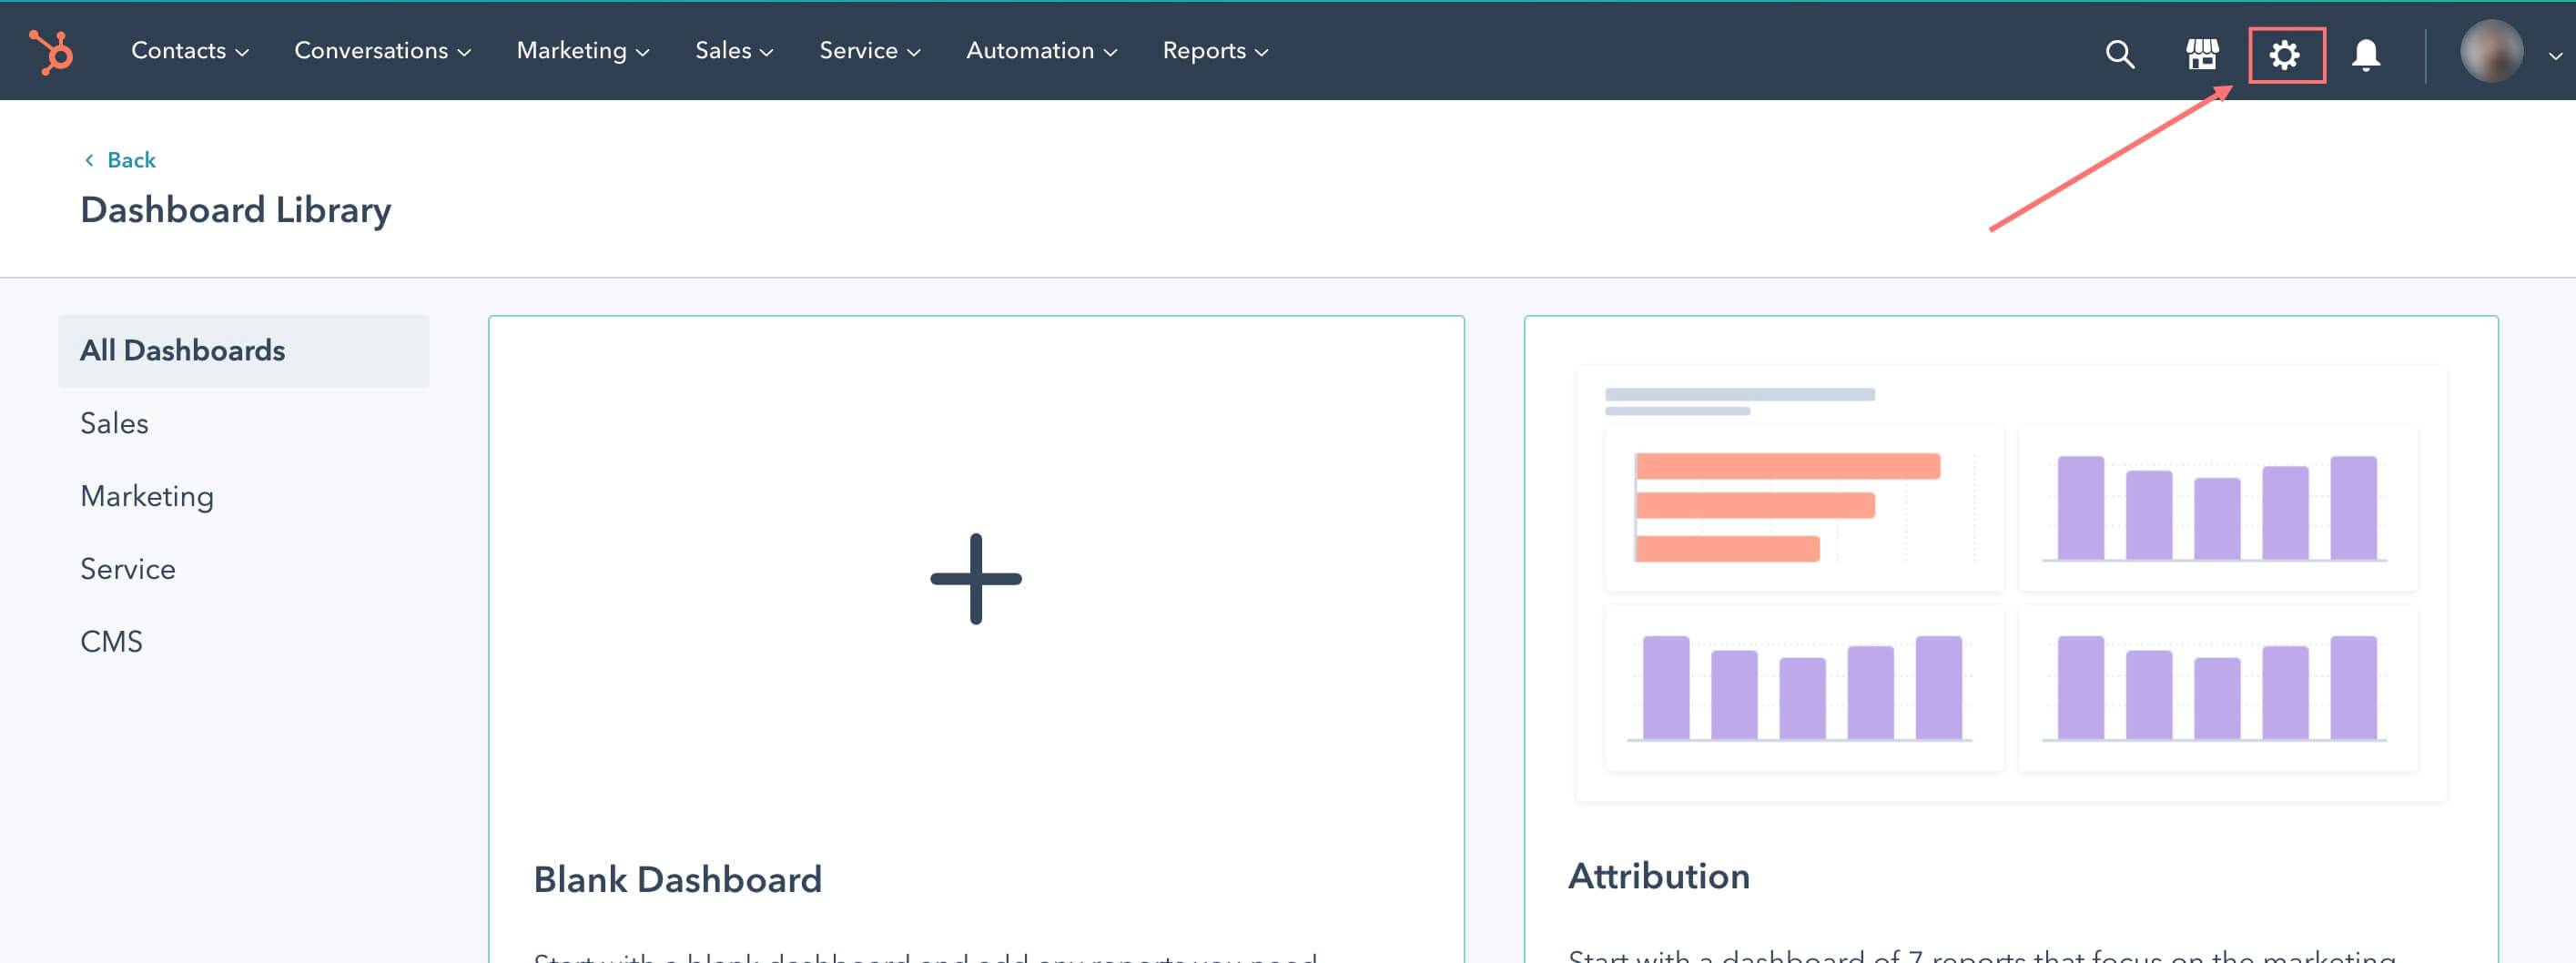
- Once you logged in successfullly you can see setting icon on top right header of your dashboard.
-
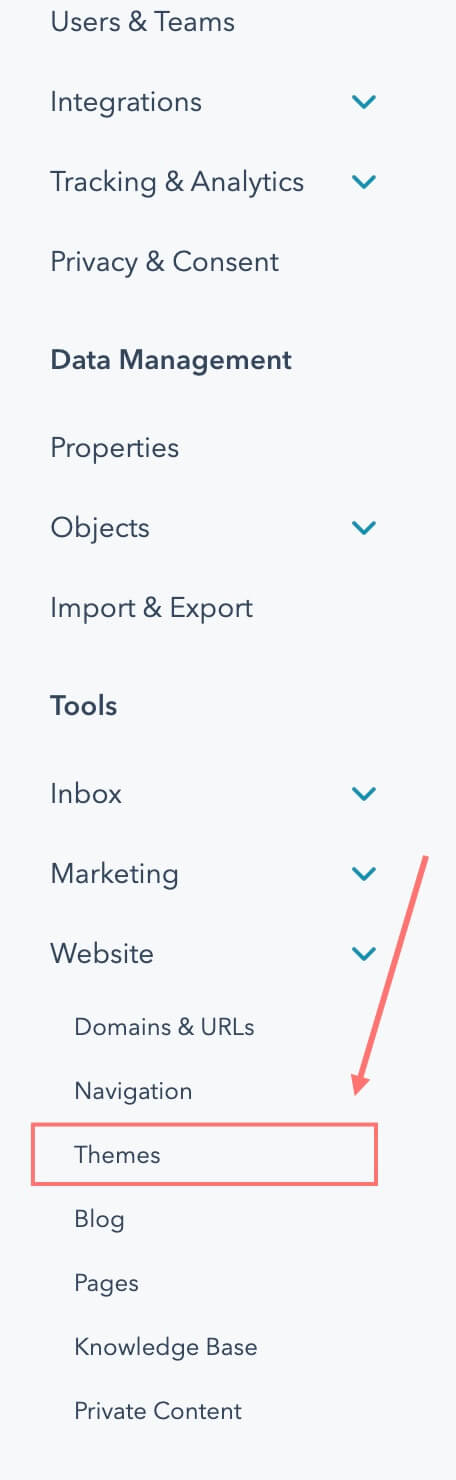
- On click of that setting icon you can see left sidebar menu, navigate to Website > Themes.
-
- Then click the Upload theme button on the top right will open file browse, just browse chatloop from your extraxct folder which you done in step 1.
-

Setup page:
A. Setup new page
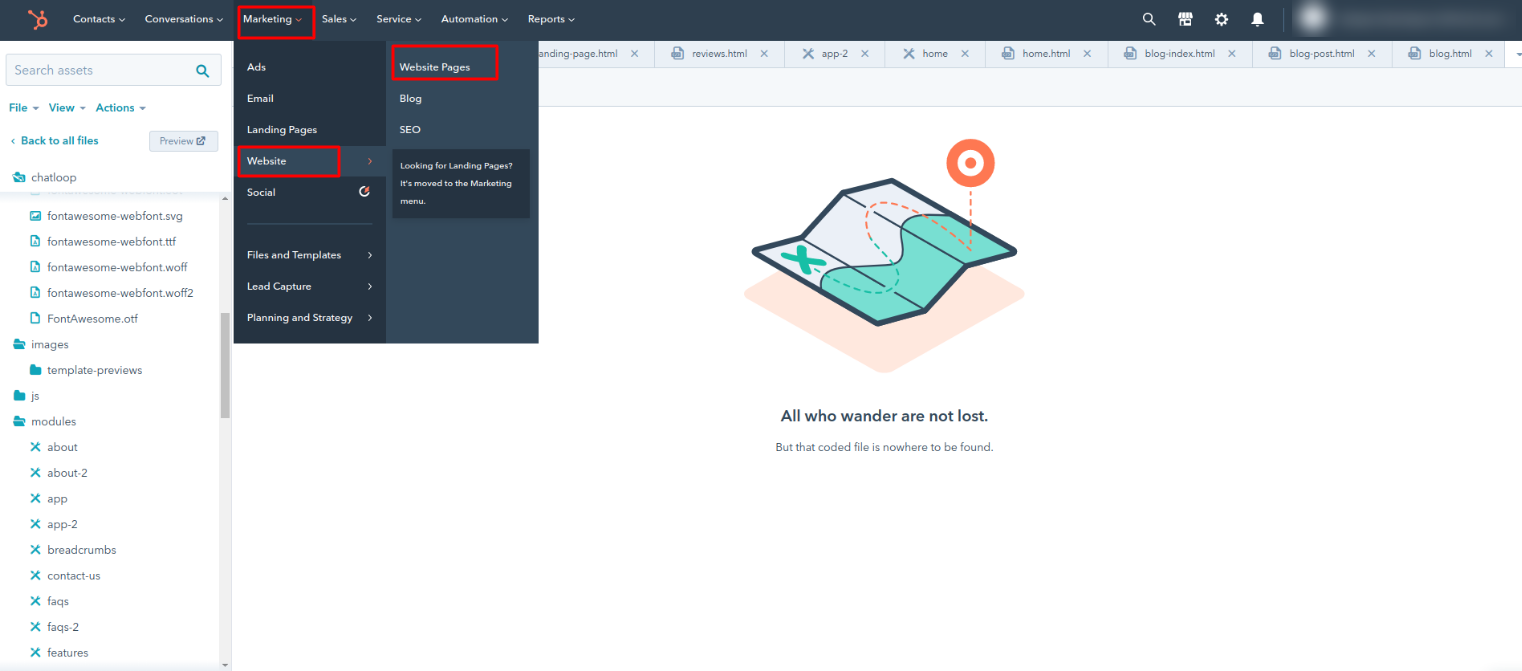
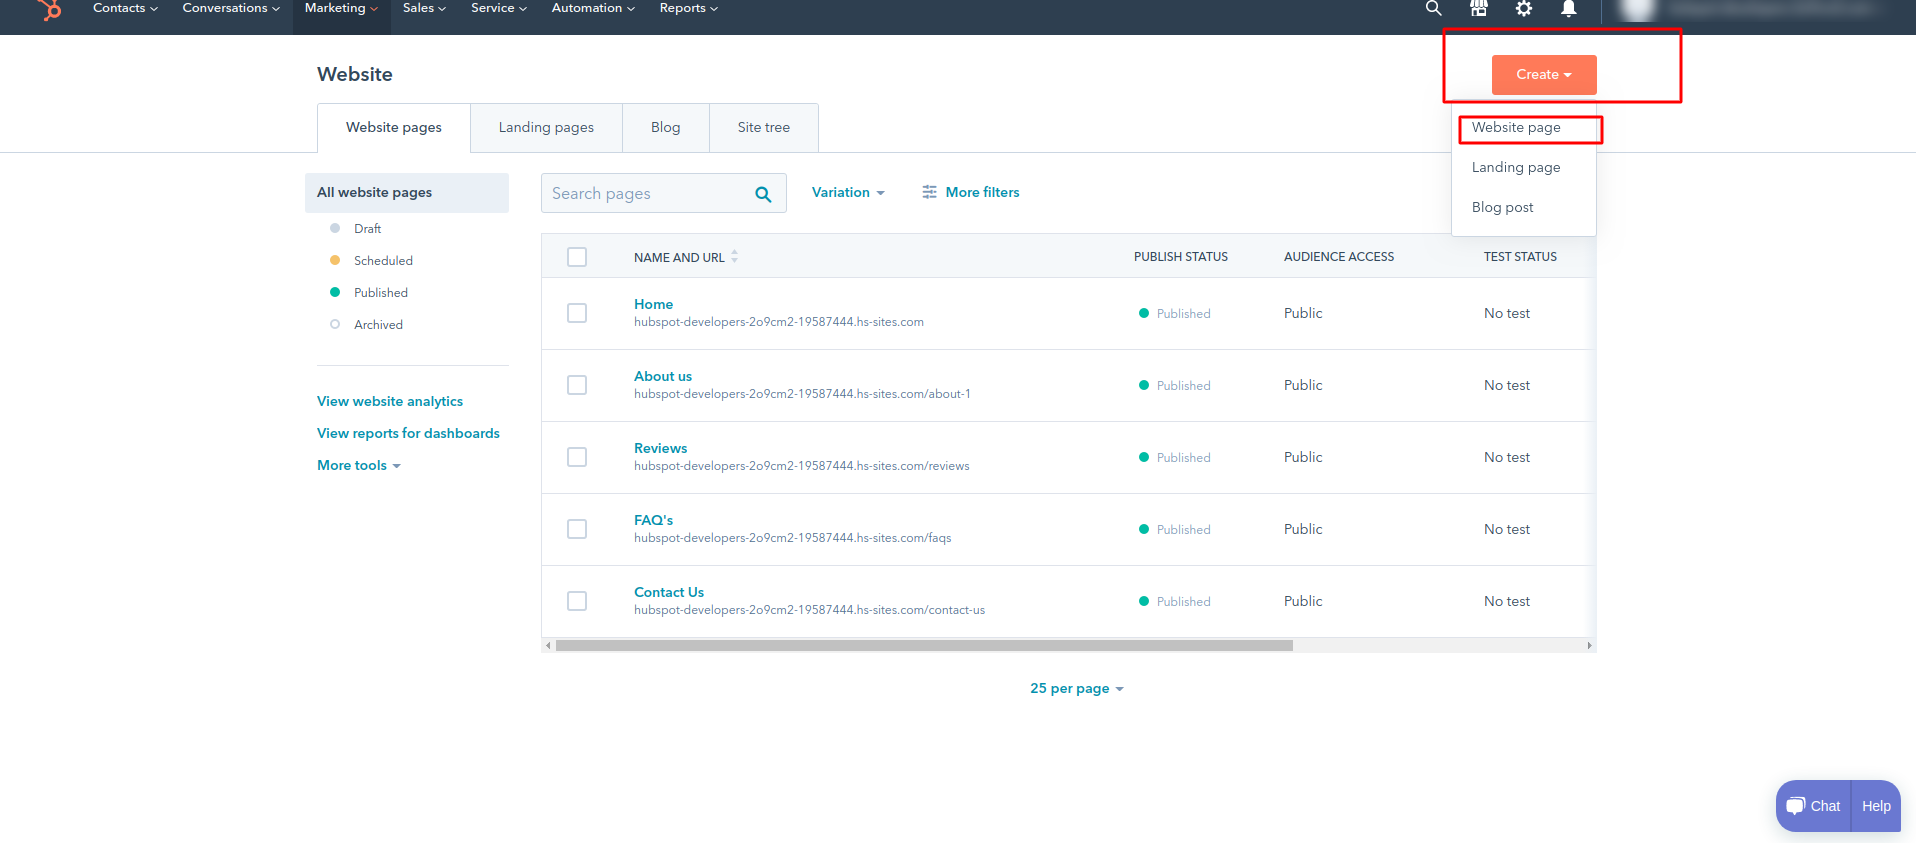
- To setup new page you just need to go Marketing > Website > Landing Pages or Website Pages. Will show you create dropdown on top right corner from where you can select Website page or Landing page.
-
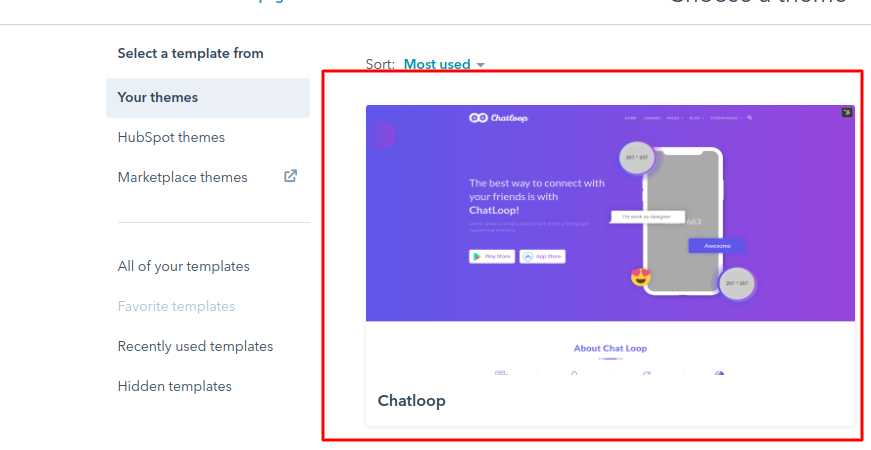
- Now click on theme you want to use for your page. If you hover on that theme will show you preview button in right corner so you can see how your theme will look in your real device, If you like that and want to create a new page with this template just click on Use template from top right corner. That ask you to give internal page name for your page and click Create page.
-
- Click on a theme you want to use for the page.
-
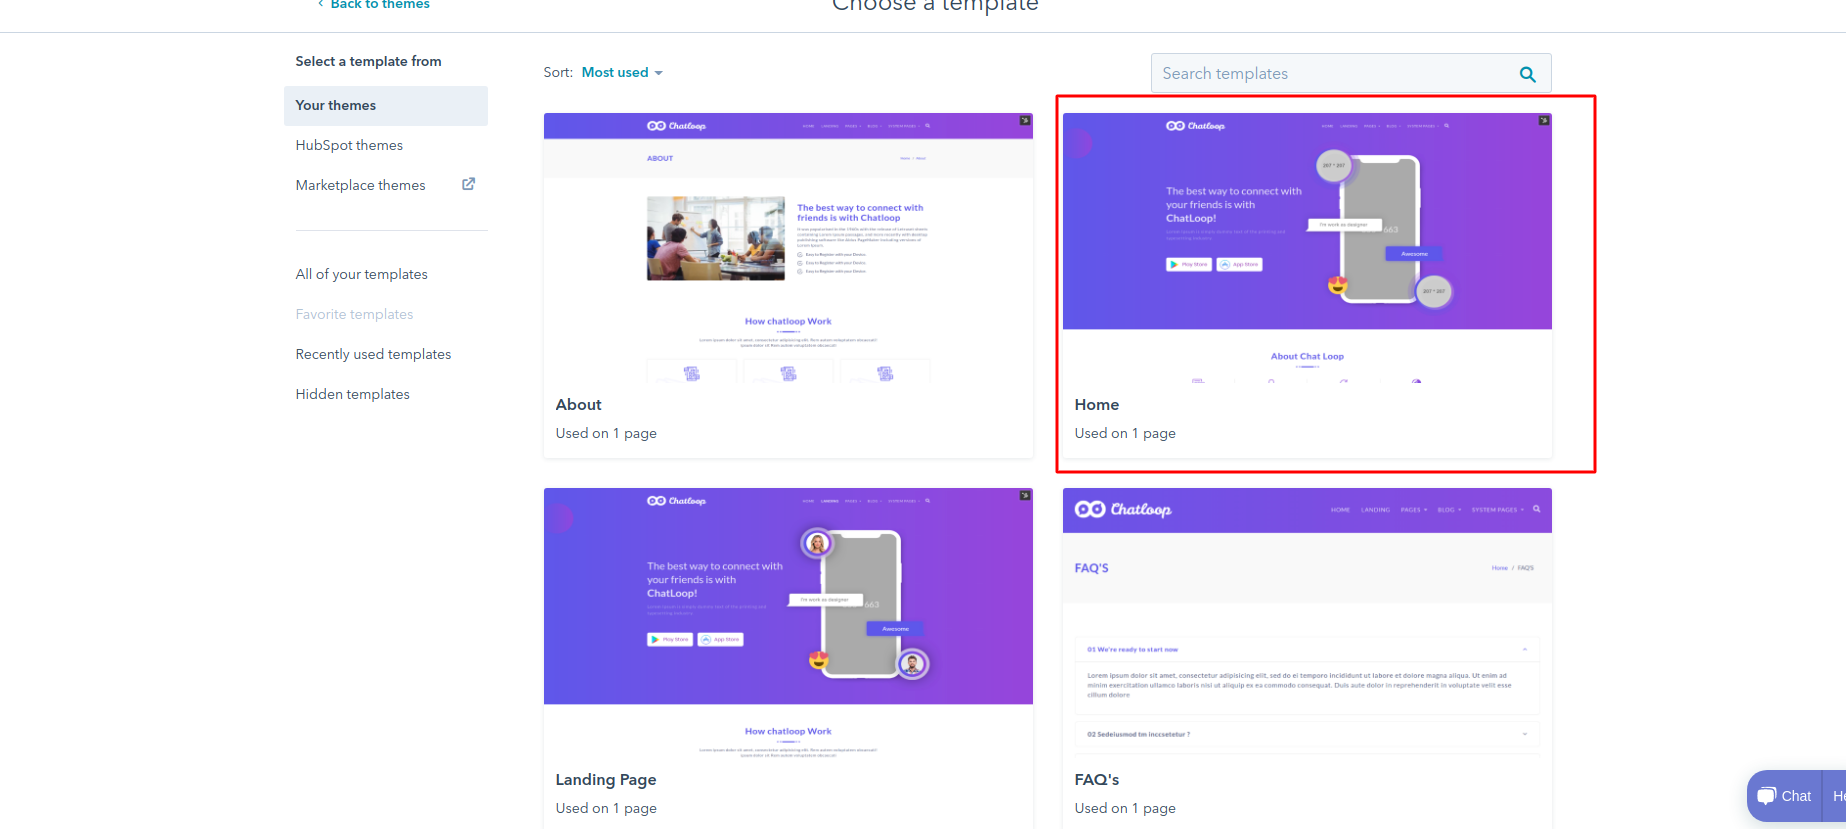
- After opening Chatloop theme, select any page template to create a new page like for example here you can see in the screenshot that there are available pages template, select home to create home page.
-
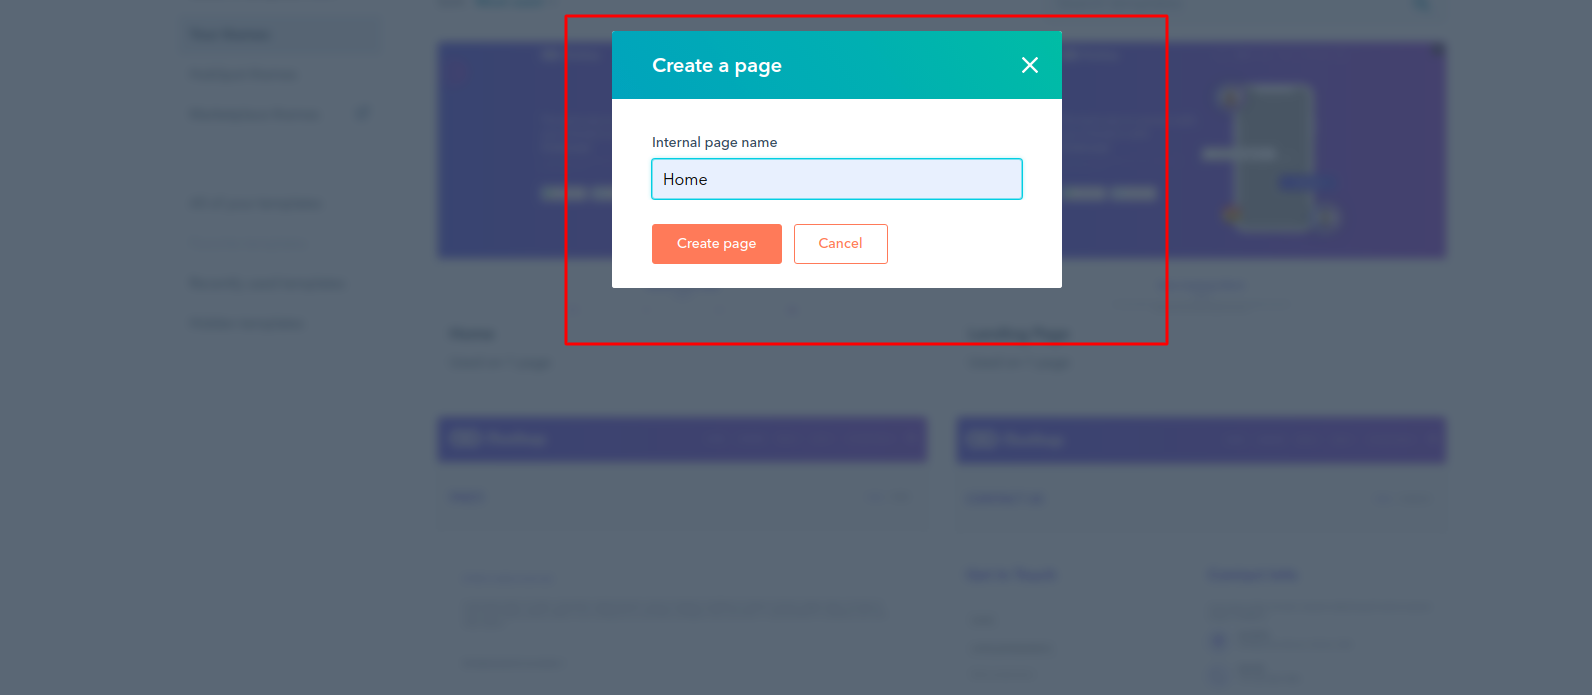
- Give your page name and click Create page.
-
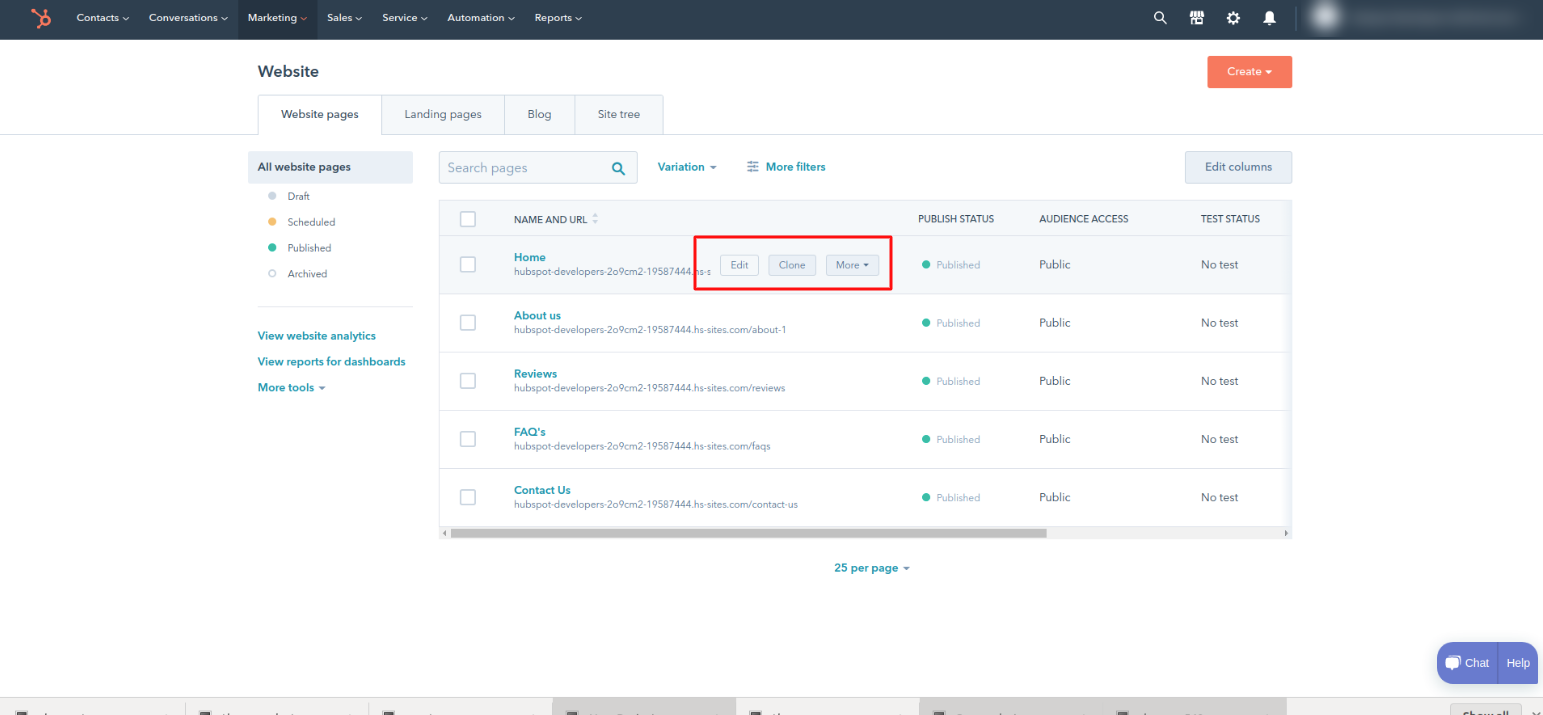
B. Modify existing page
- Once you done with creating a page and if you want to modify page just go to landing pages or website pages where you can see your created page, just hover on that row will show you to edit your page, click on edit button to edit page.
-
C. Modify content of an existing page
- To modify content of existing page you can modify within page editor.
- To modify global content such as header, footer, you just need to hover on that module will show you to edit that module.
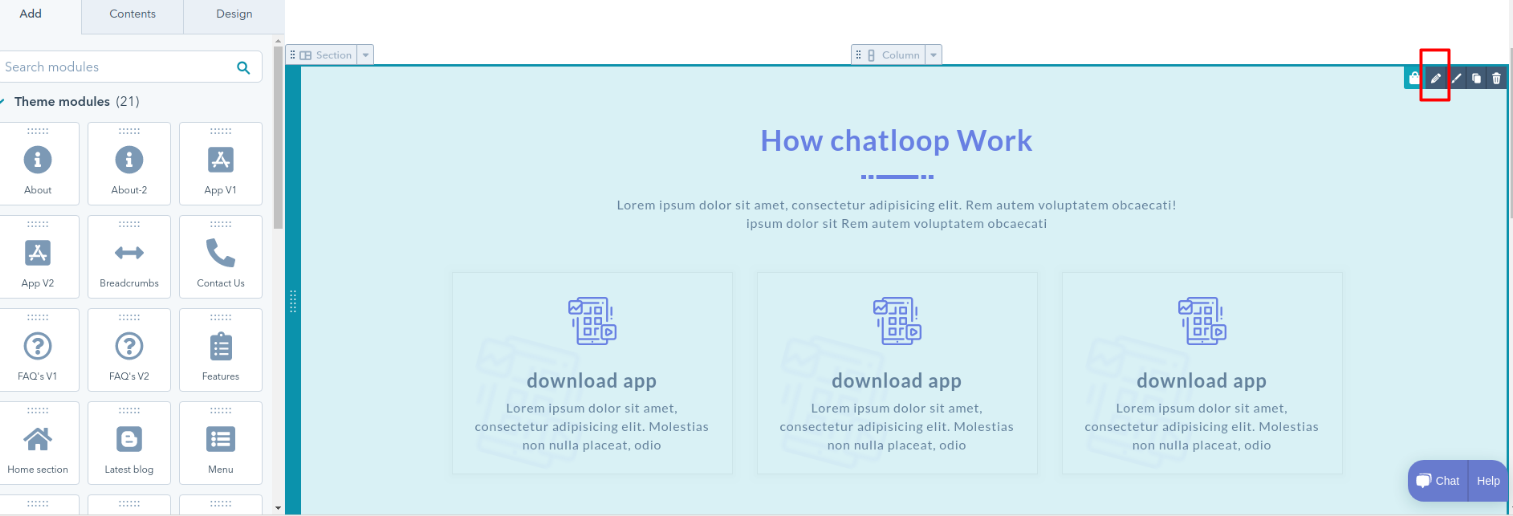
D. Modify content of your local module
- To modify content of your local module just go to content tab on left side where you can find your module so you can modify from there.
- To edit a module's contents, hover over the module and click the pencil icon.
-
- Some module can directly modify in preview only and some you can modify by clicking on it. you can also go to this doc to see more detail
-
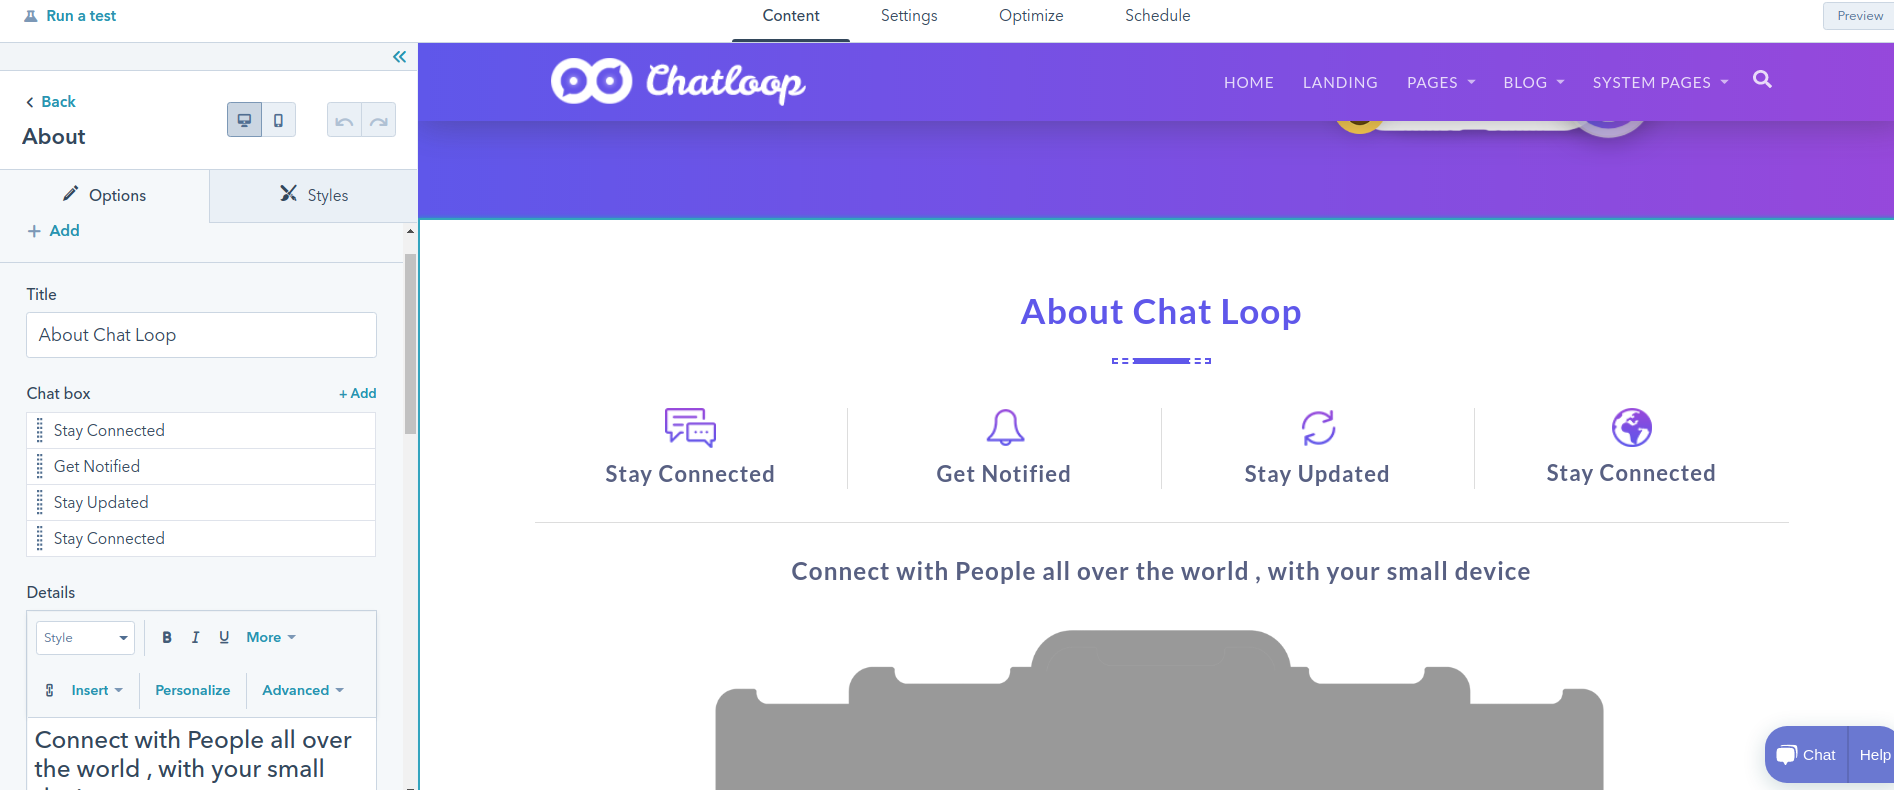
- To view a complete list of all modules on your page, click the Contents tab on the left panel. Then click a specific module from the list to edit its content options.
- Well our theme comes with many module which you can directly drag and drop it or you can rearrange it as per your choice.
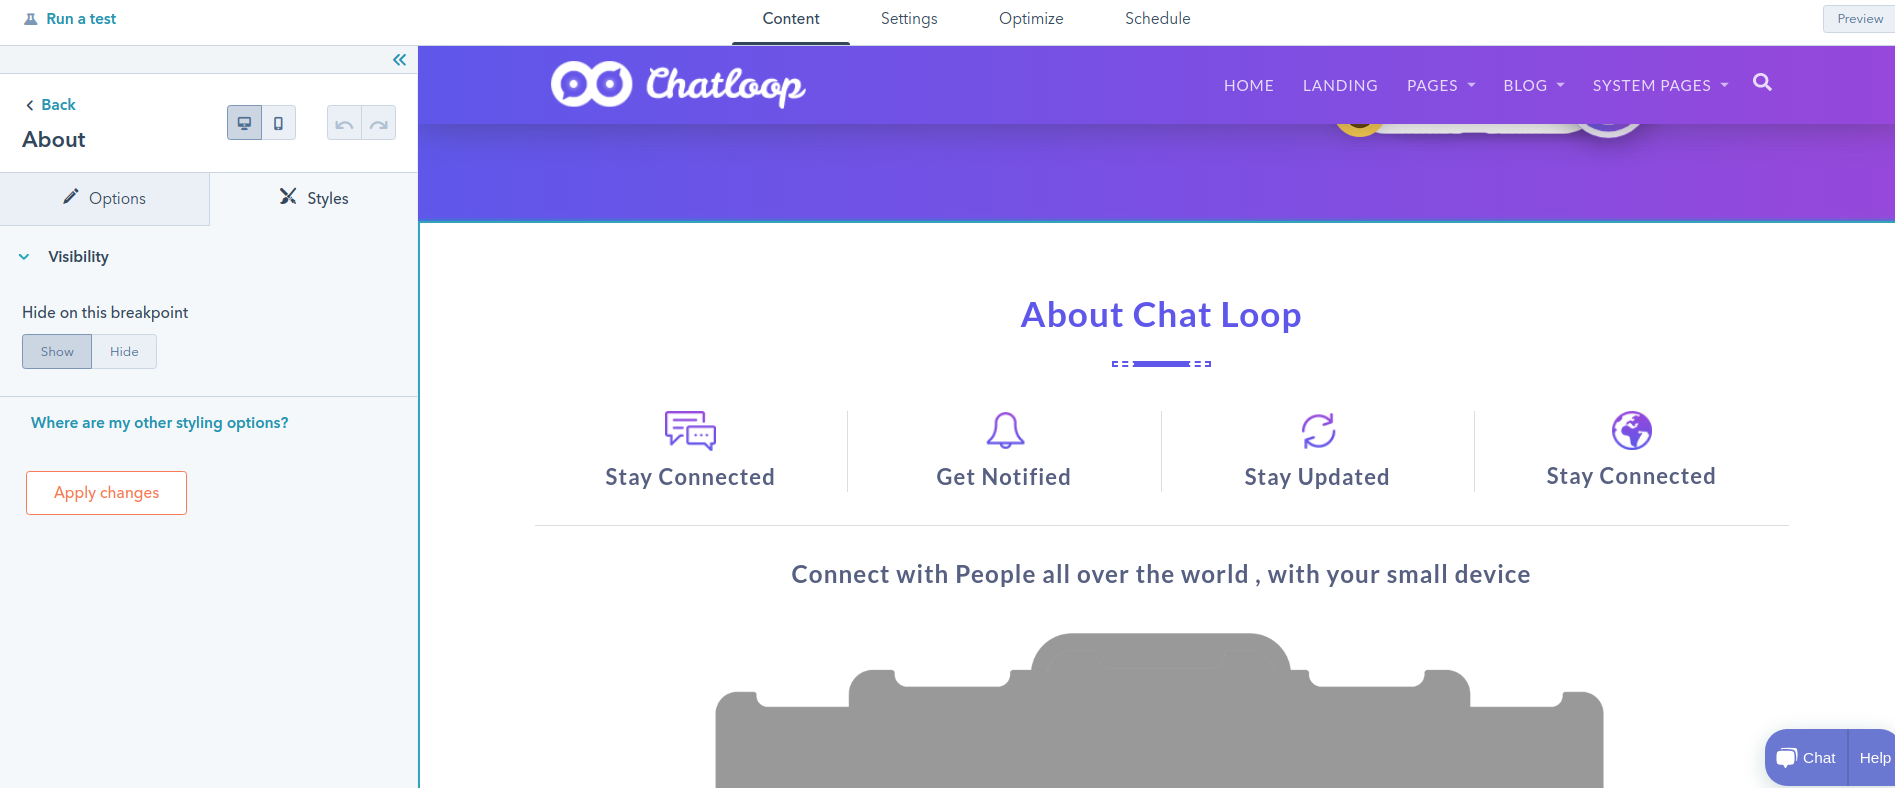
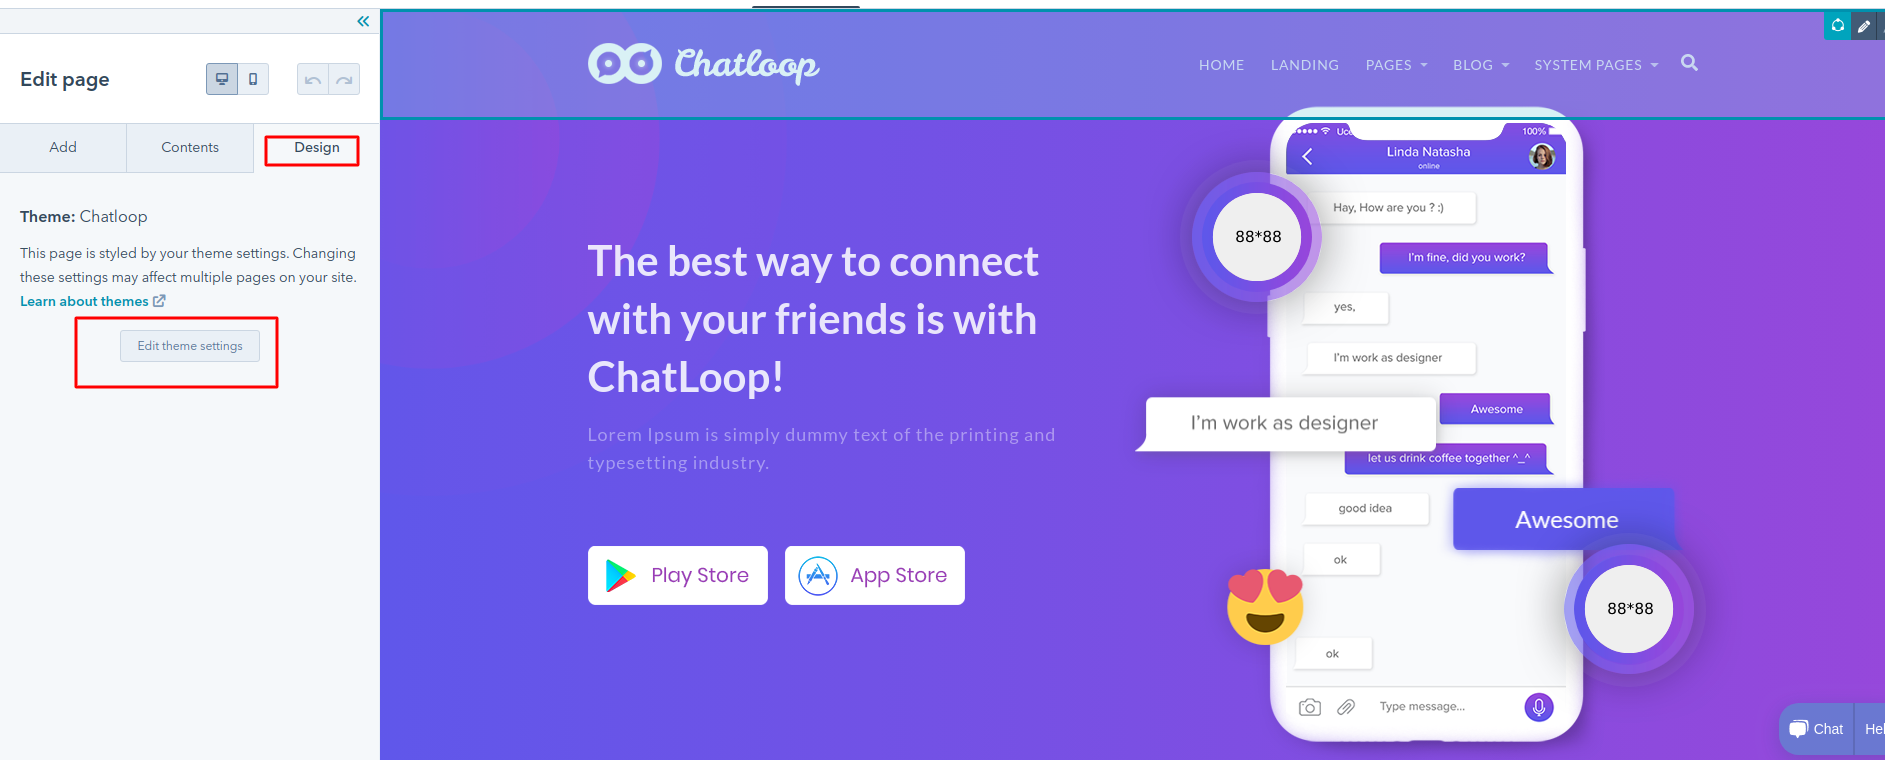
E. Modify styling of your module
- To modify styling of your module you just need to select that module and on left sidebar it will show styles tab so from their you can change styling of your module.
-
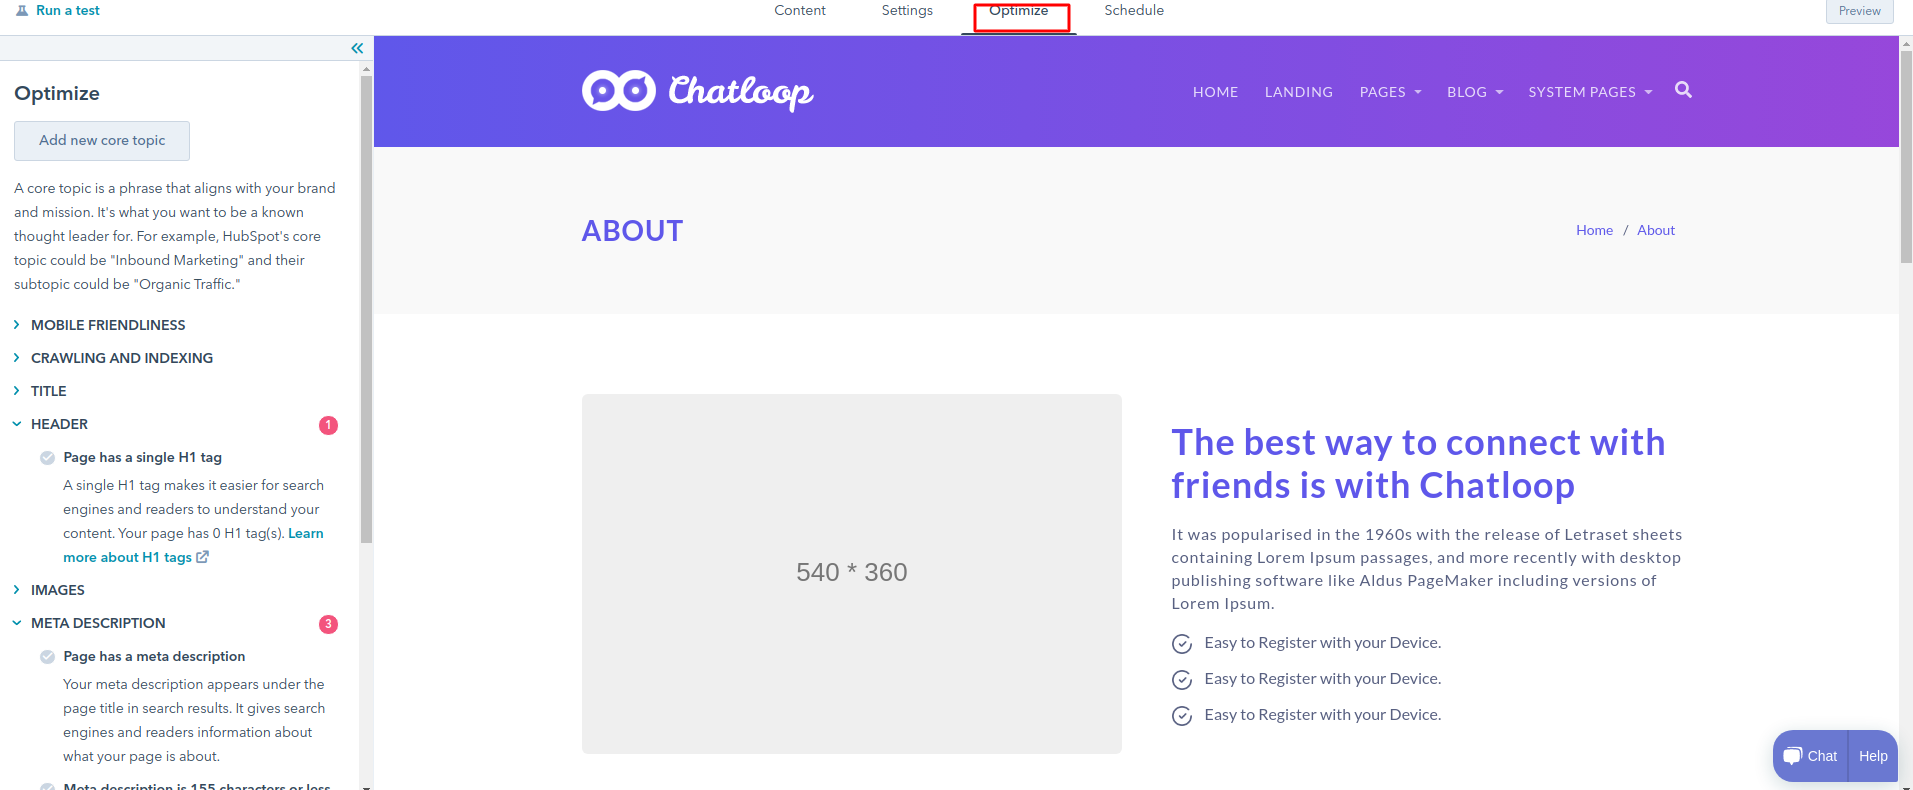
F. SEO
- To Optimise your page just click on optimise tab on top and will show you SEO tool, so here you can attach your page, also read this doc for more detail
- Click a module to select it in the editor. In the left panel, click the Styles tab to access the styling options for that particular module. Learn more about how to style modules within each type of page template.
-
G. Modify your page settings
- Internal page name: Can change name of your page
- Page title: Can change title of your page
- Page URL: Can change URL of your page, if you want to change after your site publishing then just refer edit your page URL detail
- Add page to a menu: Add your page on menu of your site from content setting.
- Meta description:Can add/modify your meta description from here.
- Campaign: associate your page to a HubSpot campaign. Select Add new to create a new campaign.
- Featured image: On this toggle to add featured image when it upload to social media, and then click on upload button to select an image.
To modify your basic information of your page just go to setting tab at top of page from which you are able to change your page setting like:
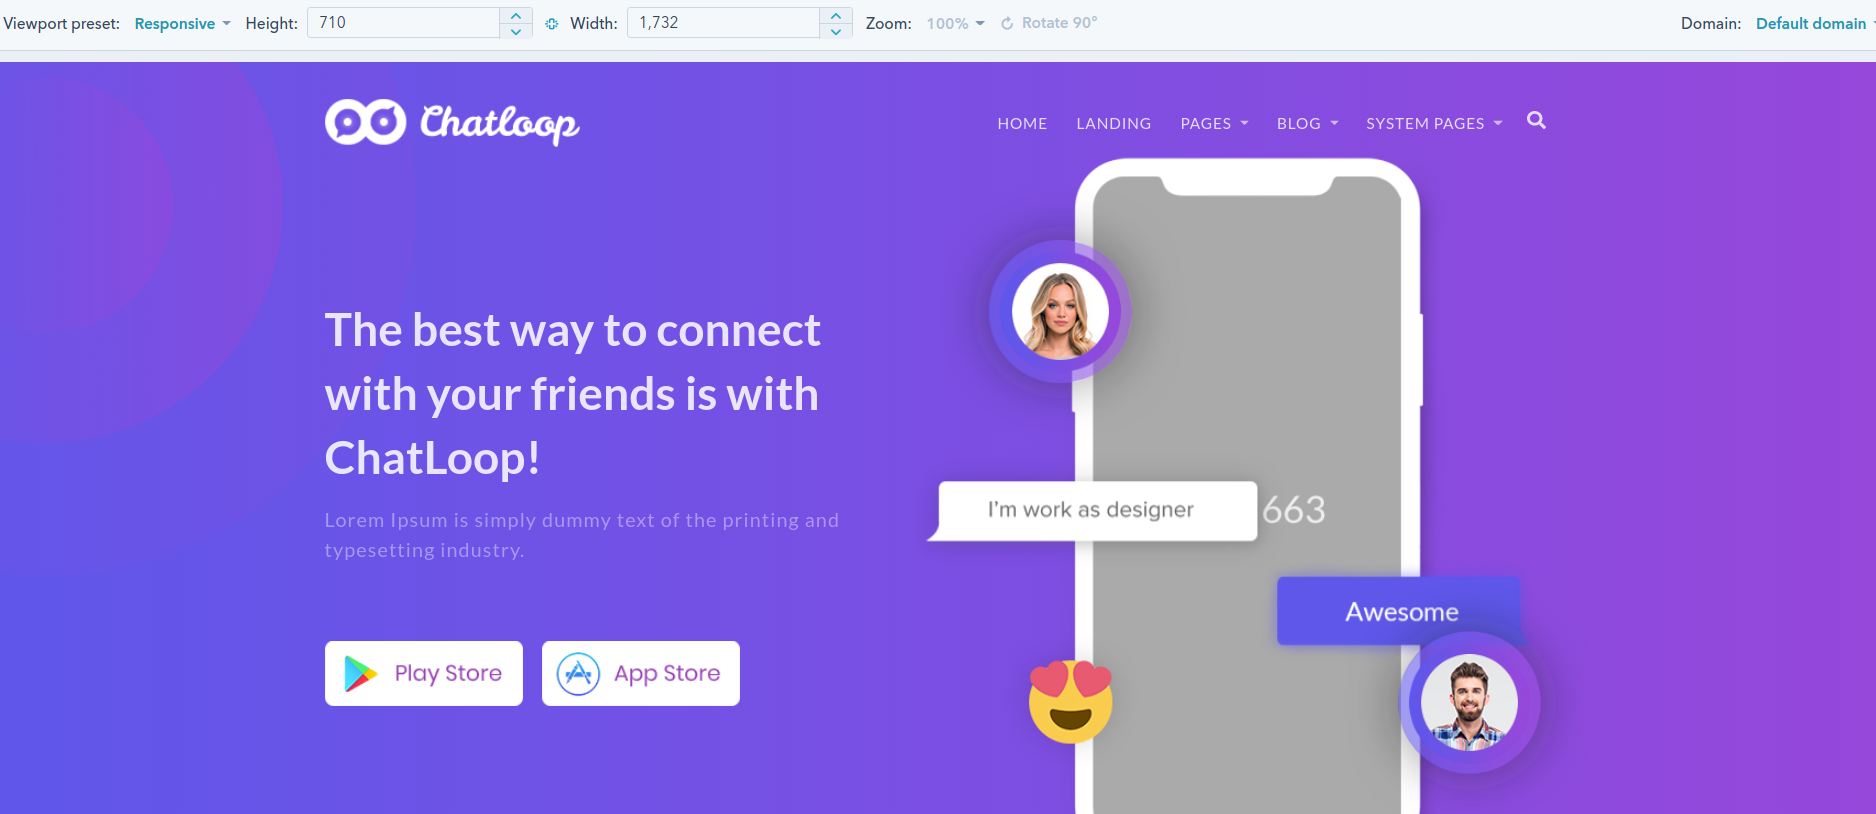
H. Preview your page
Click on Top right corner to preview your page how it look like in your real device. Also you can see preview how it'll look in mobile view. For more you can just refer detail.
- Device preview: Will Open in new window to see a live preview of your page in a new tab in your browser. This preview link will work before your page is actually published. Click Copy shareable link to copy the link to your clipboard to share it with your team. Note, they need to loggedin with hubspot.
- Smart preview: click the
Preview as dropdown menu to
preview how your page will appear for
different contacts in your database.
- Select a contact to preview how personalization will appear based on that particular contact's property values. Click the second dropdown menu to select a specific contact from your database.
- Select a smart rule to preview how smart content on your page will appear to contacts who meet its criteria. Click the second dropdown menu to select a specific smart rule to preview.
- Device type: click Mobile + Tablet to see a live preview of your page on a phone or tablet device. Click Desktop to see a preview of how your page will appear on a web browser.
-
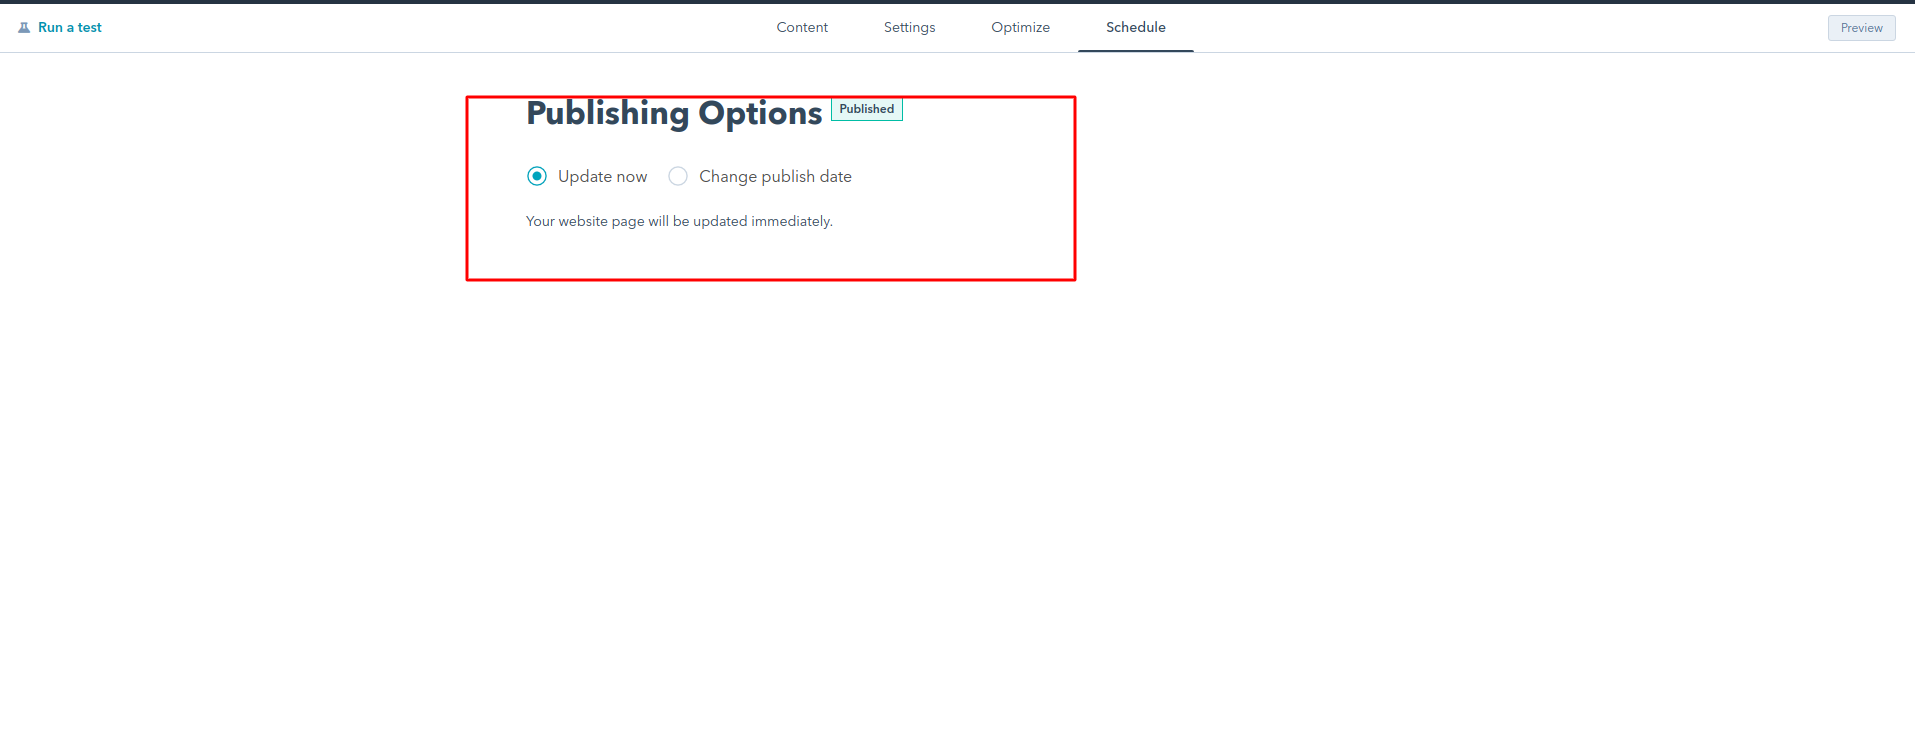
I. Publish or schedule your page
Once you done with all above task, you are ready to publish your page.
- Click the Publish or schedule tab and select Publish now to publish immediately, or Schedule for later to publish this page at a future date and time.
- If you miss any information you can see alert button on top right corner of preview button
- Once you've finished completing all the required items for your page, click Publish.
-
System Pages
1. Select your error, password prompt and search result page templates
- In your HubSpot account, click the settings icon settings in the main navigation bar.
- In the left sidebar menu, navigate to Website > Pages.
- Click the System Pages tab.
-
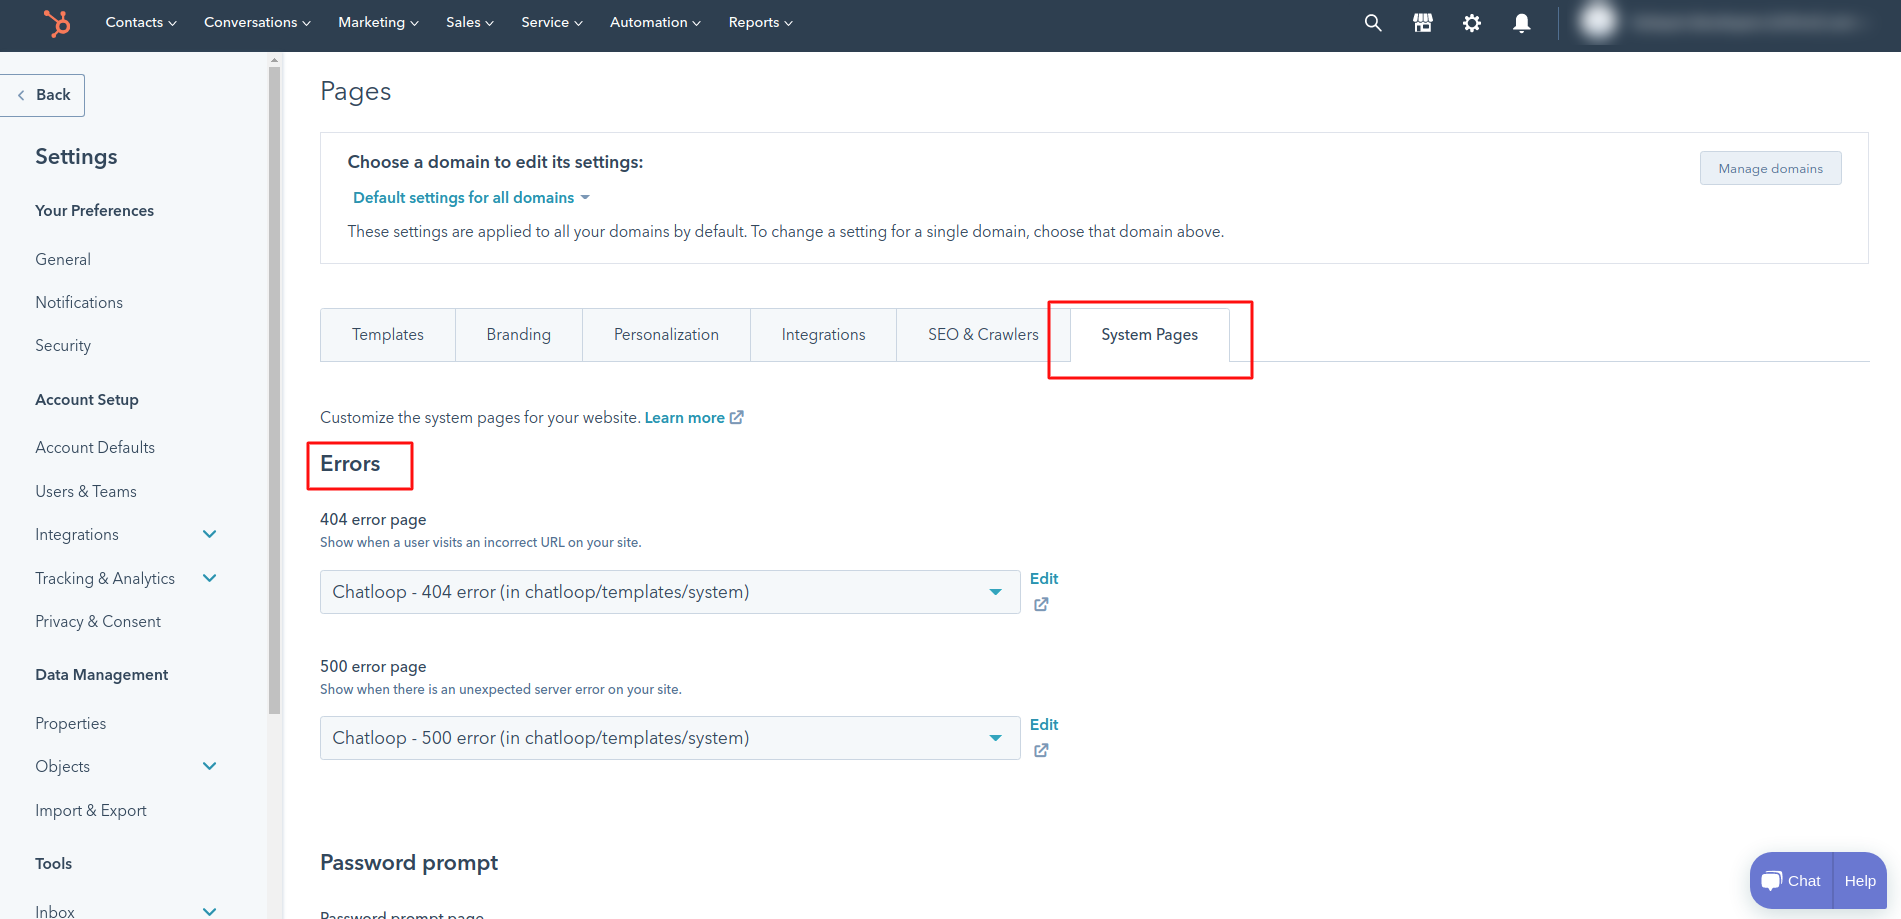
- Click the corresponding dropdown menus to select your 404 error page, 500 error page, Password prompt page, and Search results page templates.
-
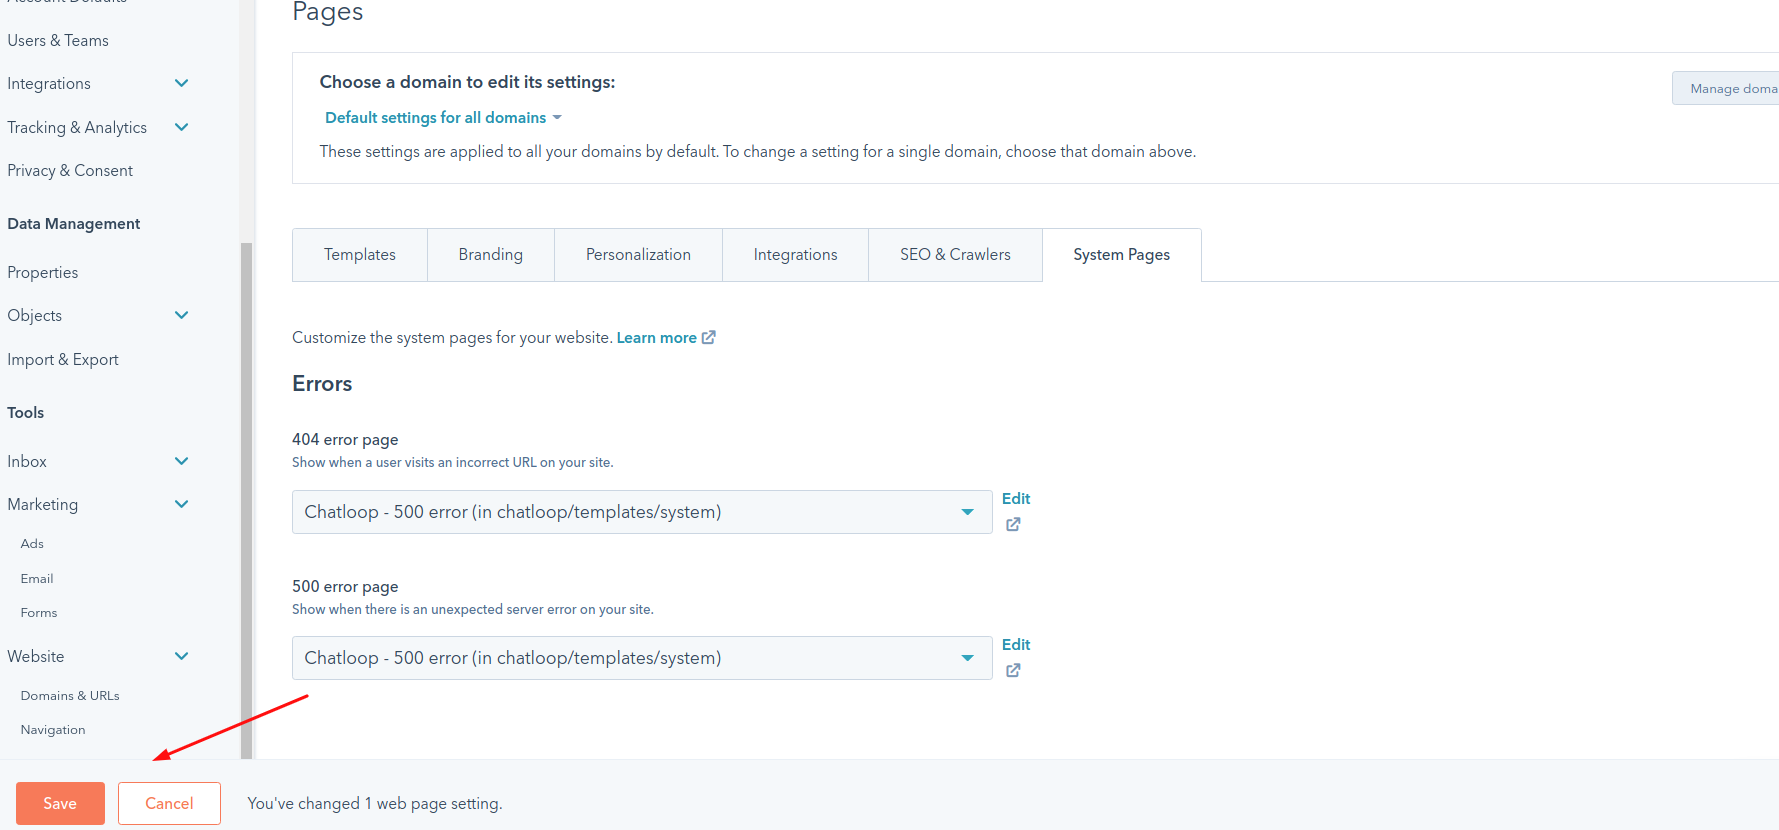
- When you're done, click Save in the bottom left.
2. Select your email subscription page templates
- In your HubSpot account, click the settings icon settings in the main navigation bar.
- In the left sidebar menu, navigate to Marketing > Email in the left sidebar menu.
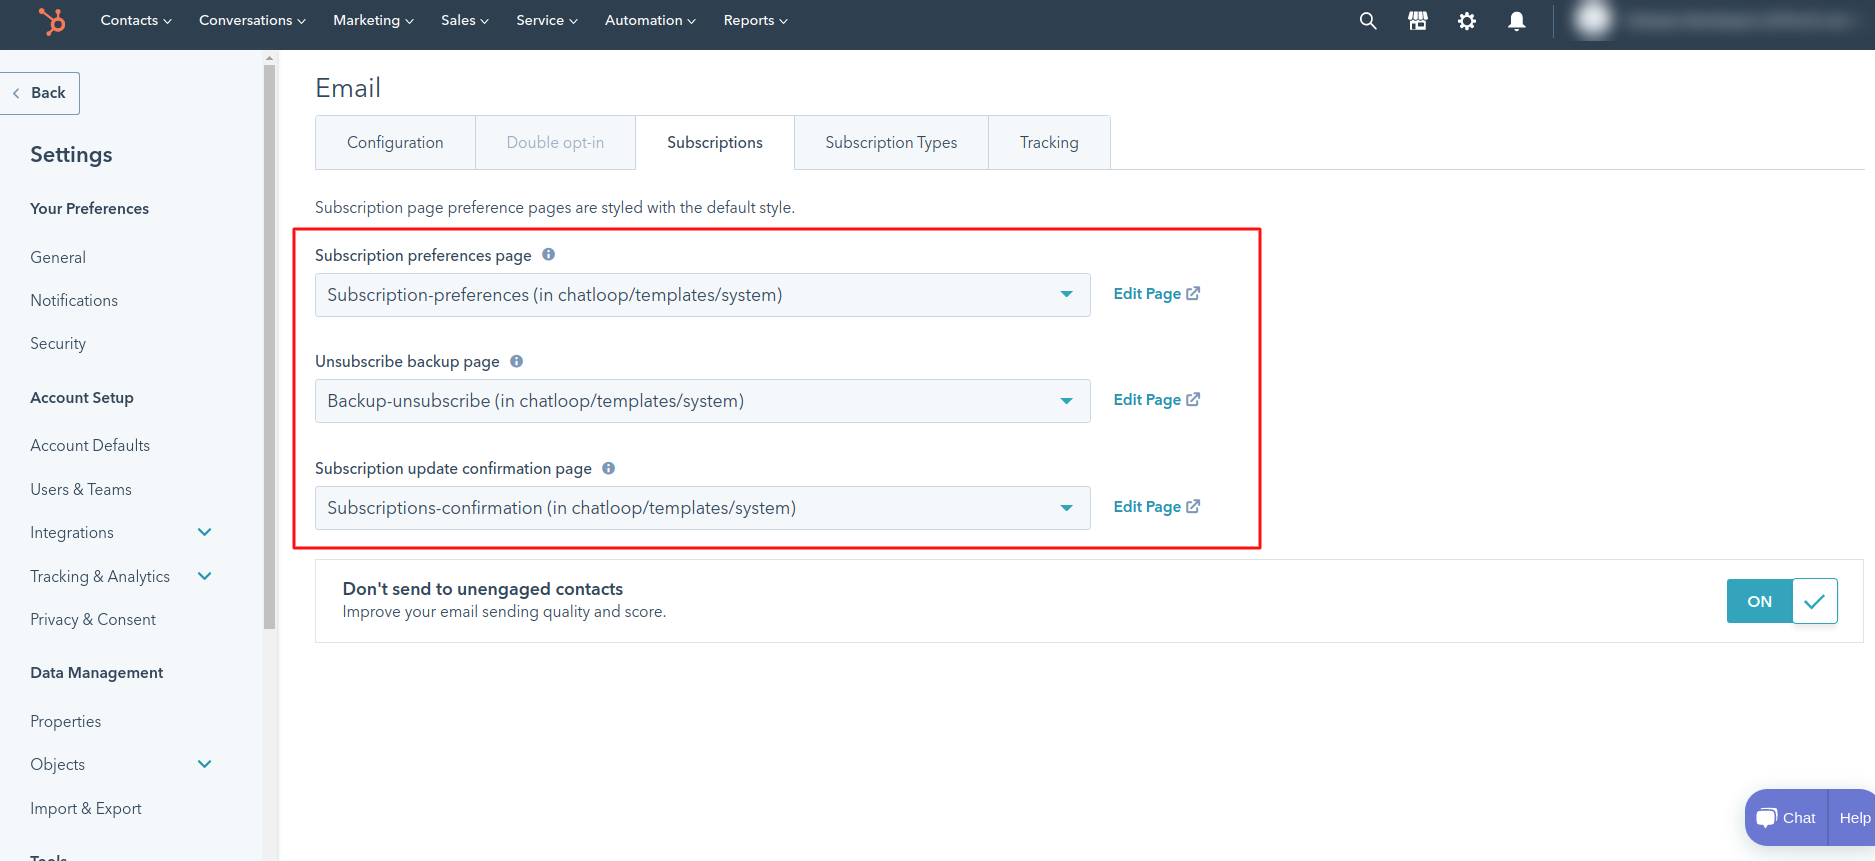
- Click the Subscriptions tab.
-
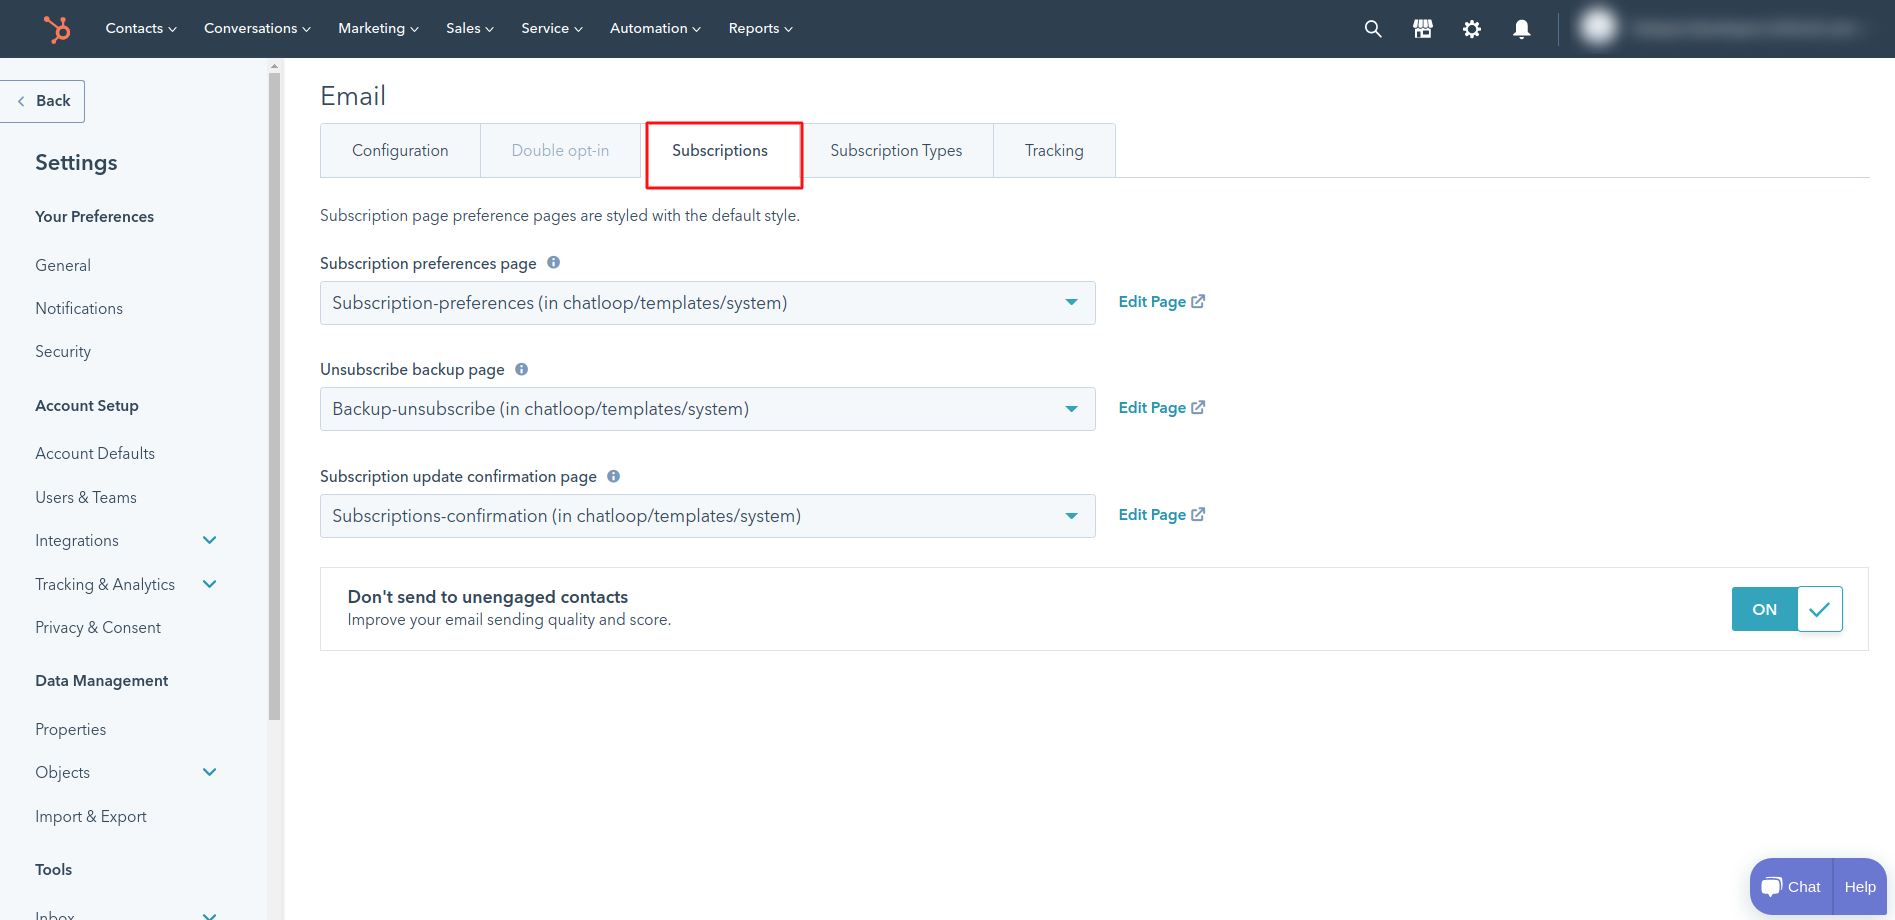
- Click the corresponding dropdown menus to select your Subscription preference page, Unsubscribe backup pages, and Subscription update confirmation page templates.
-
Global content
1. Open global content editor
- In your HubSpot account, navigate to your blog, landing pages, or website pages.
- In the content dashboard, hover over the page or blog post that contains your global content, then click Edit.
- In the page editor, header and footer on your template are labeled with a global content icon. This global content icon will appear directly on the module group in the editor, or in the module listing in the Content tab on the left panel.
- Now Click on global content and then click on Open in global content editor. This will open a new content editorfor your global content.
-
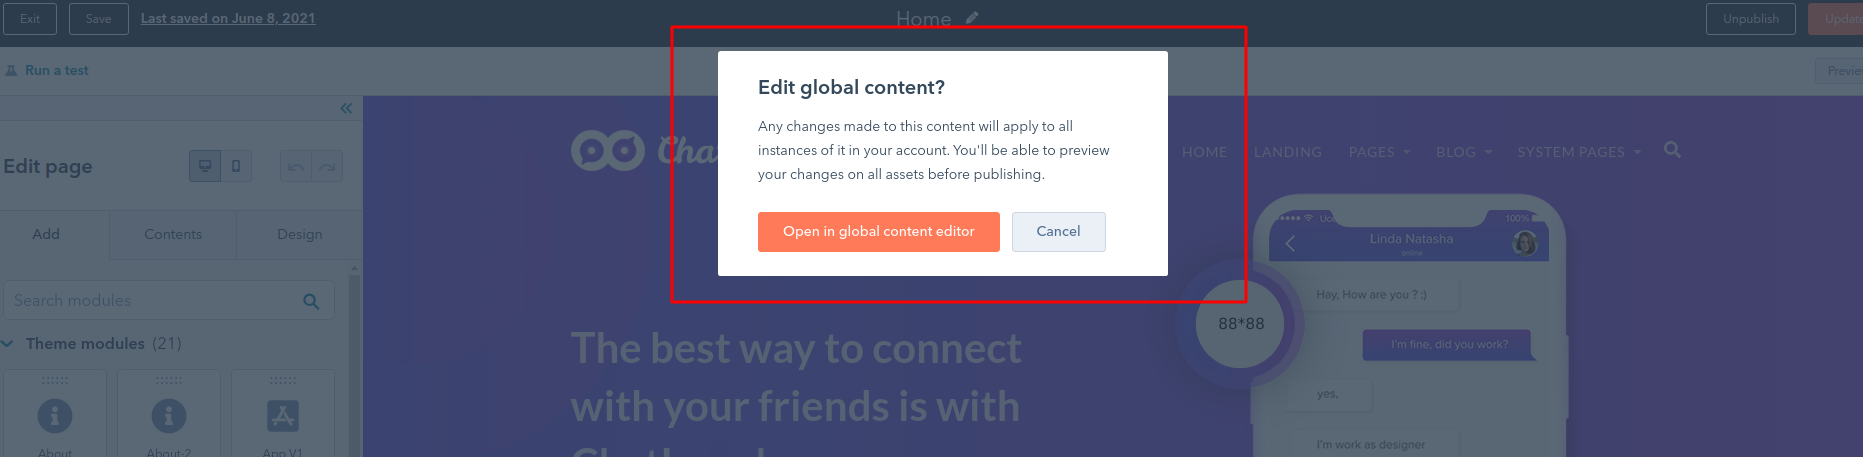
-
 Header
-
 Footer
- In the left panel, click a module to edit its contents in the left sidebar editor. You can click on back button to see your global list again.
- In the upper right, click the View all to see a list of your global content.
- When you're done editing your global content, click Publish to [XYZ] assets in the upper right. These changes will show your changes in all page, which includes this global content.
2. Setup header
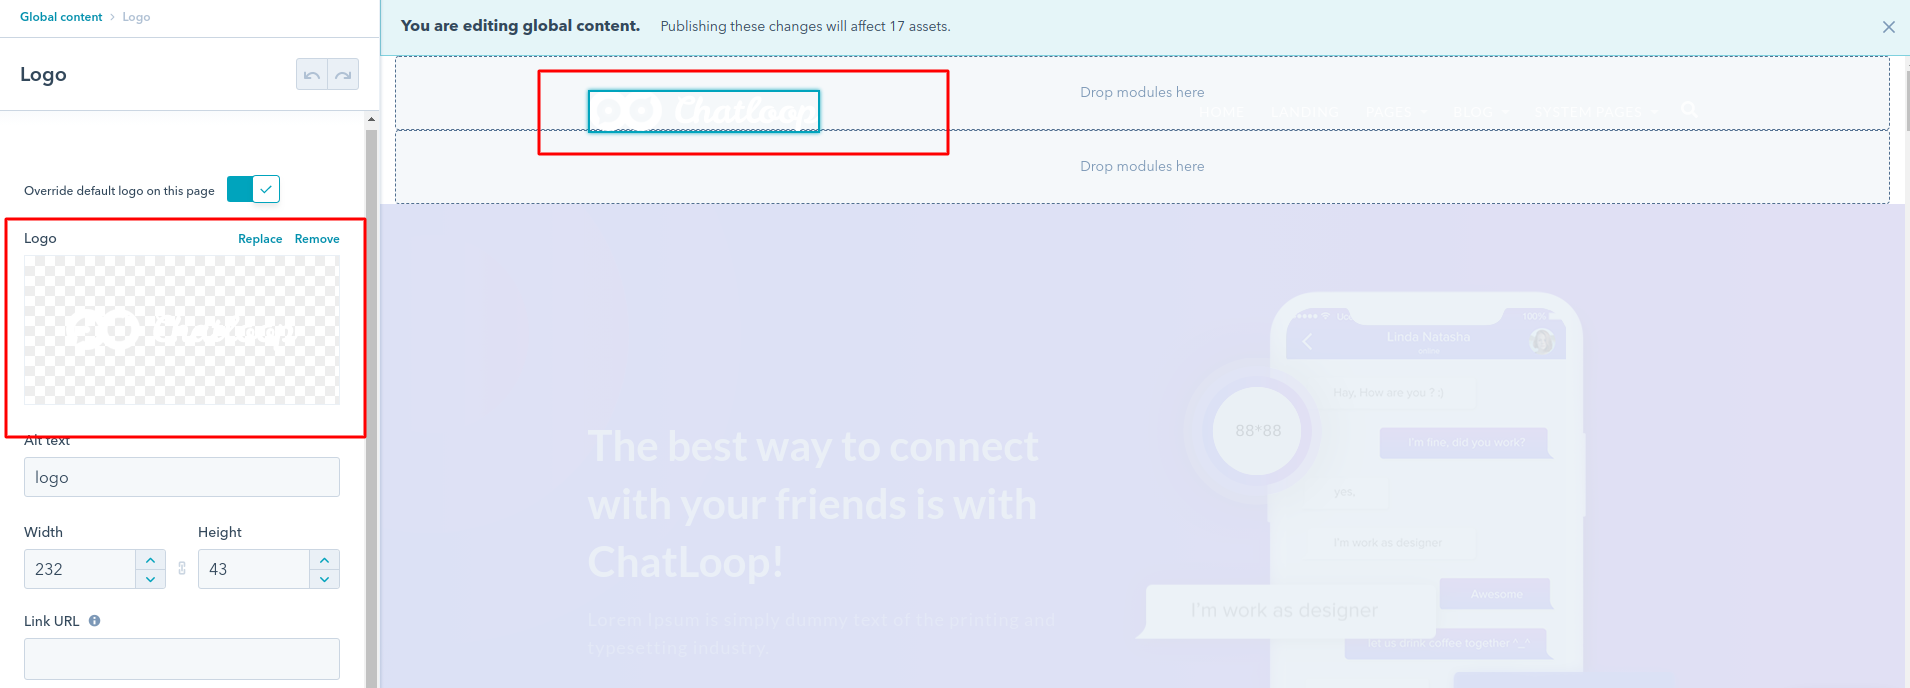
A. Change the logo
- In the left panel of the global content editor page, click the Content tab, then click the Logo module in the left panel.
-
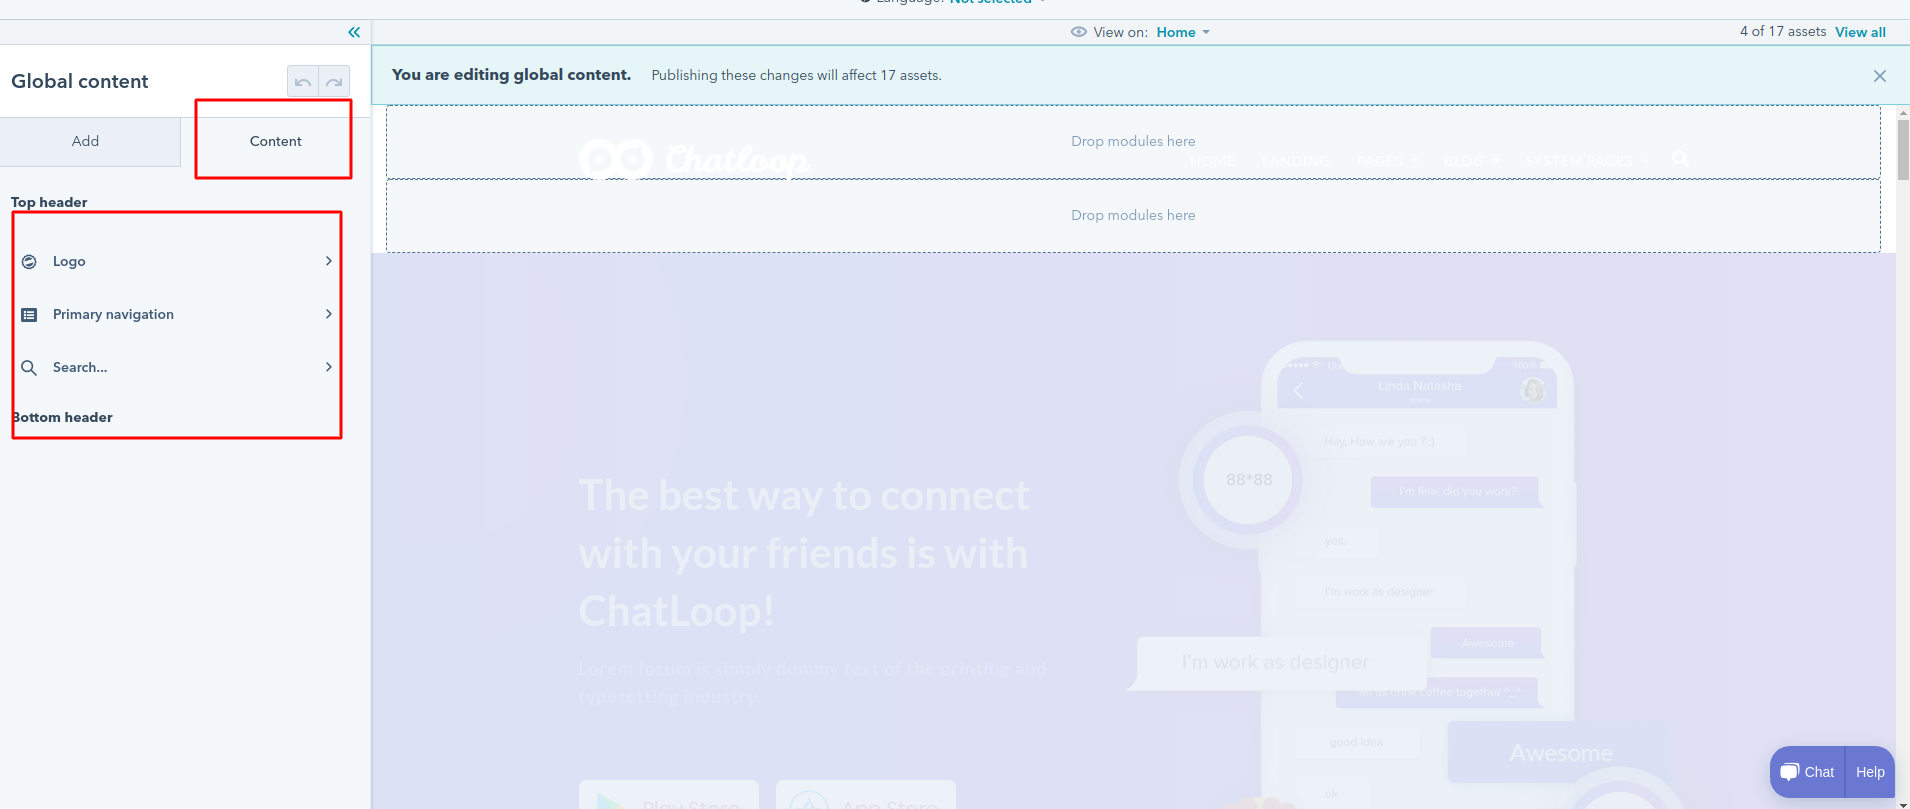
- To change deafault logo of your page just edit it from here
-
B. Edit the Menu
- In the left panel of the global content editor page, click the Content tab, then click the Menu module in the left panel.
-
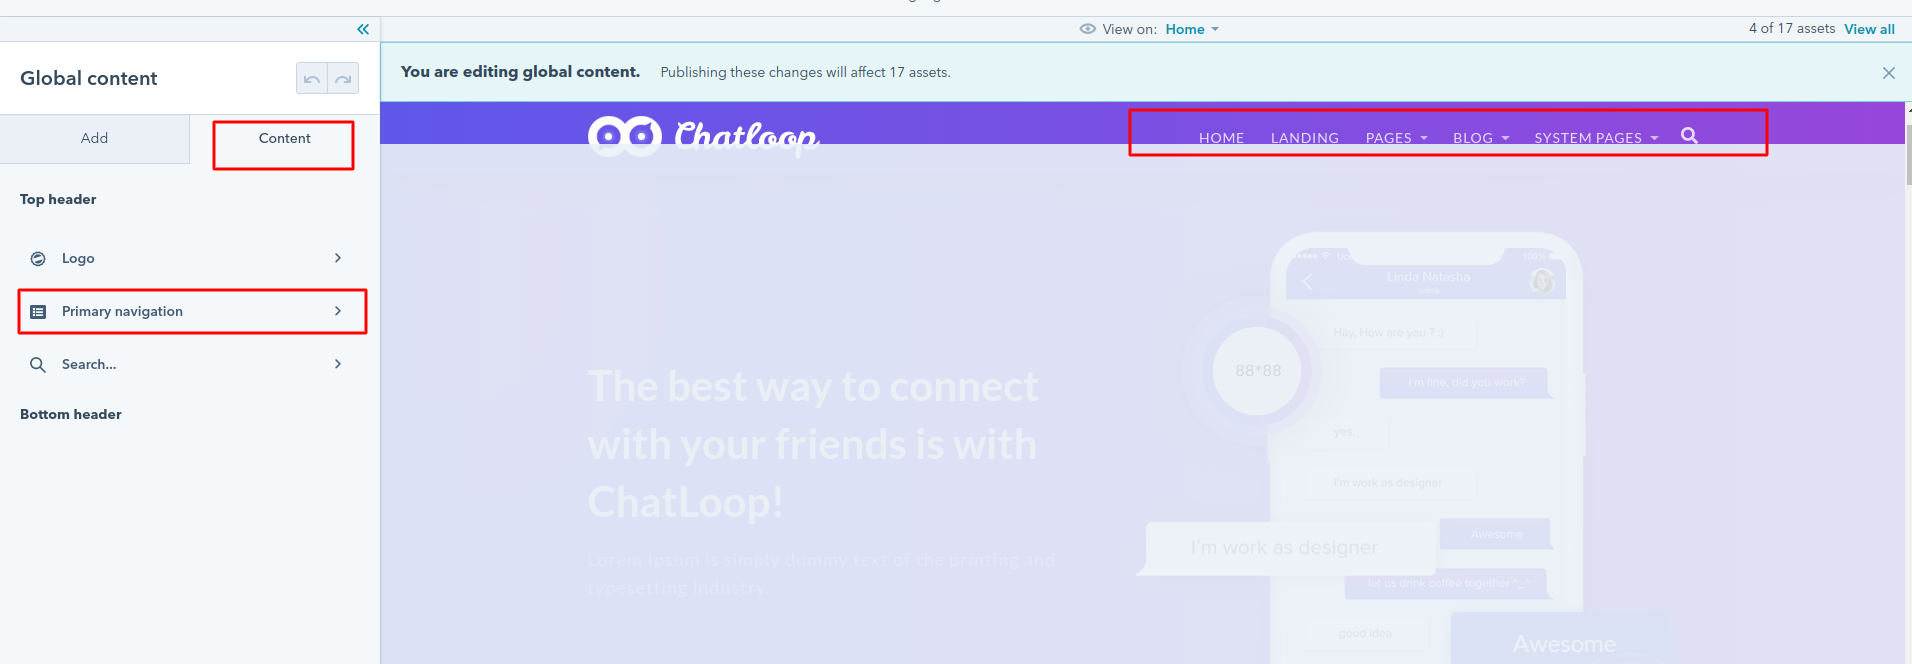
- From there, pick a menu to display as the main navigation on your site. You can refer to this guide for creating, editing the menu in HubSpot.
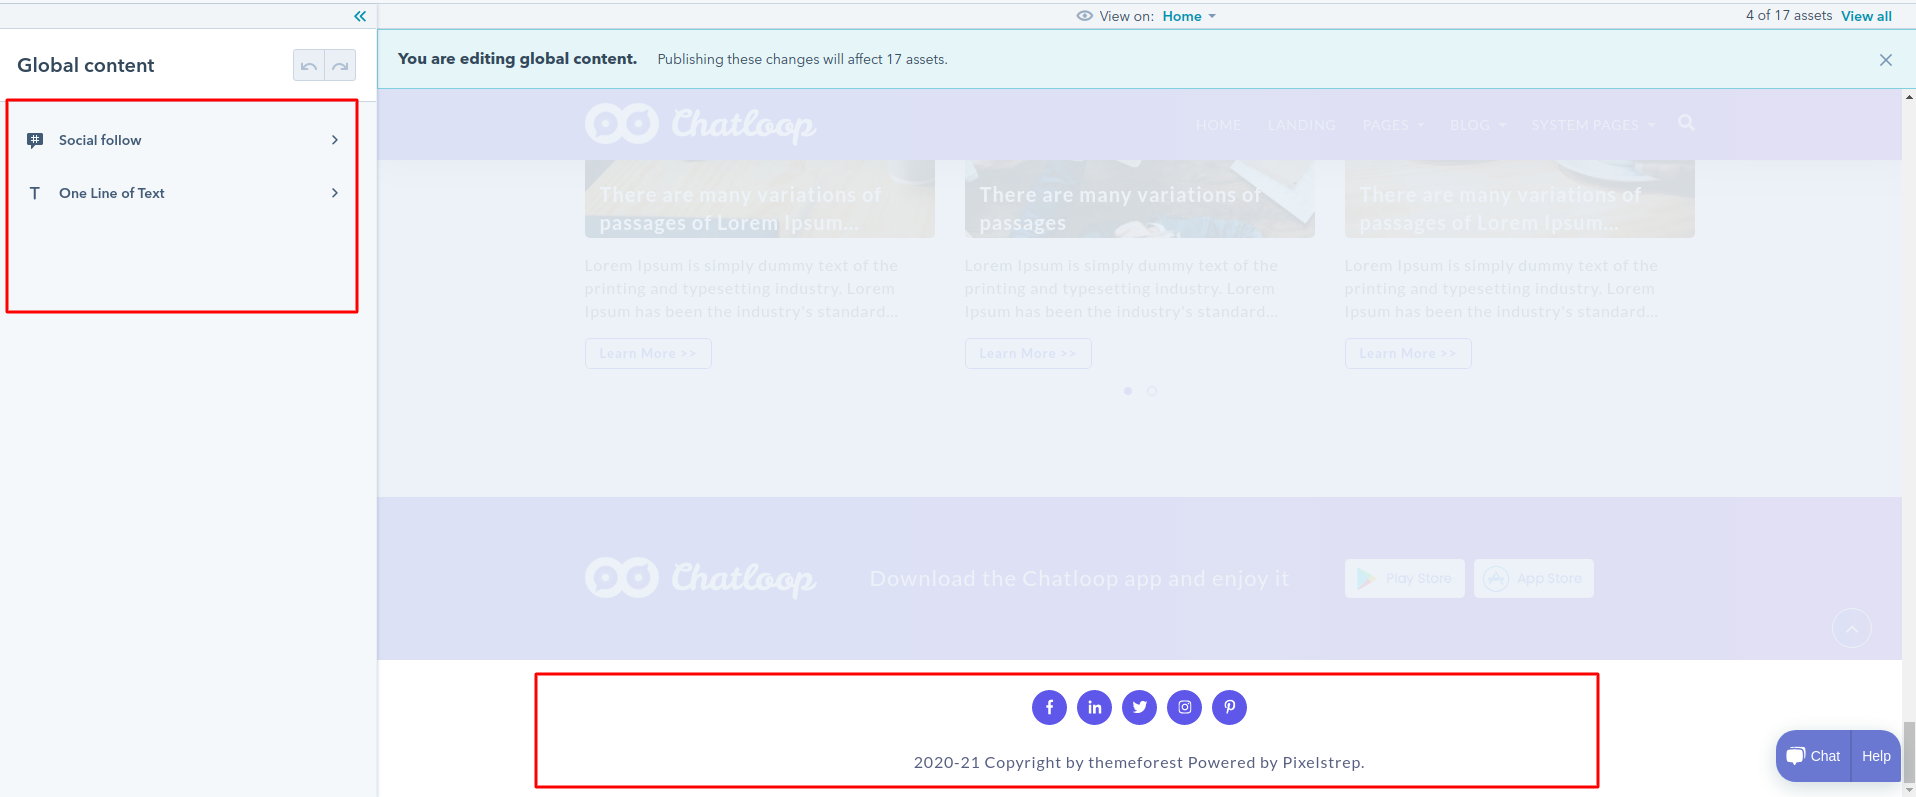
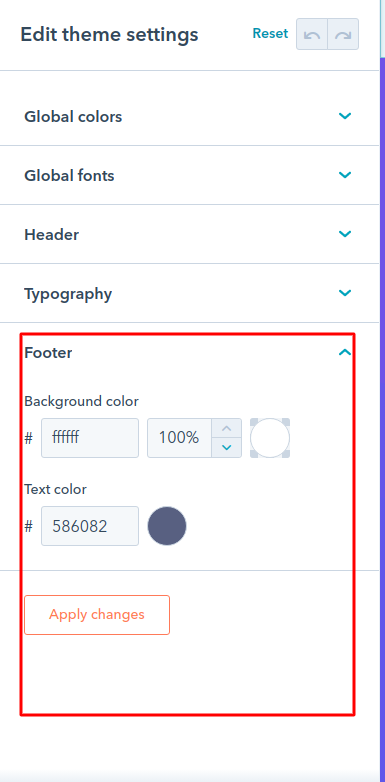
3. Setup footer
- On the global content editor page, click the Content tab you can see footer module, once you click on that you will see list of modules. Each module corresponds to a column in the footer. Just click the module you want to edit change its content.
-
Customizer
Go to marketing on top menu click on Files and template and then click on design tools
- on left sidebar you can see preview button will
open new window, where you can see theme setting
on
left sidebar.
To customize your theme we are come up with some
global customization like you can customize.
- Global Color
-

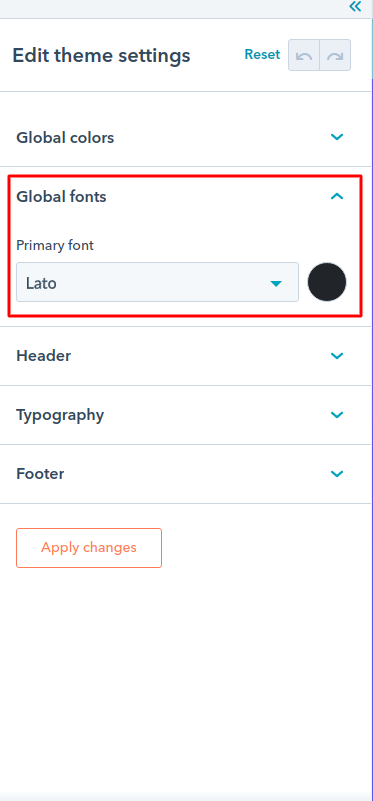
- Global Font
-
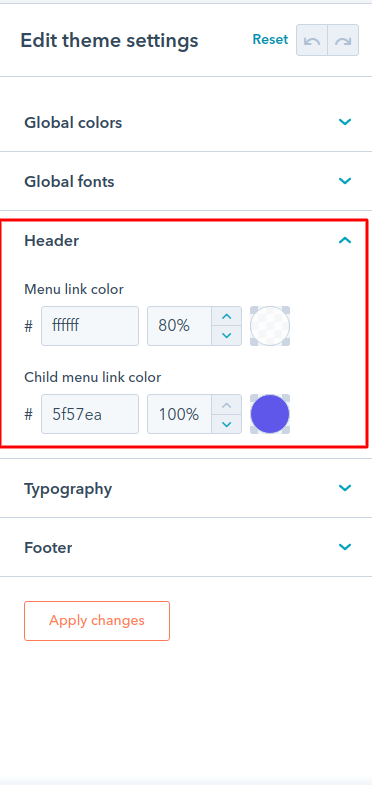
- Header
-
- Typography
-
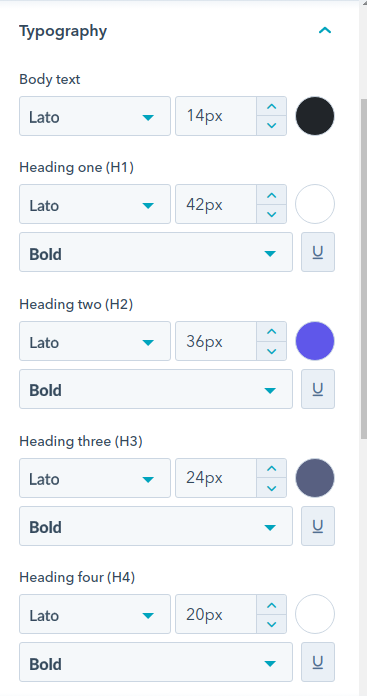
-
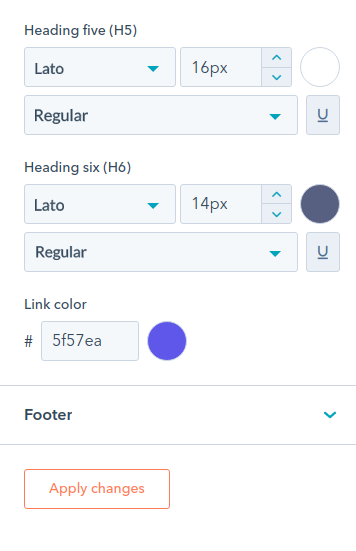
- Footer
-
Create blog
- In your HubSpot account, click the settings icon from top right cornor
- In the left sidebar menu, navigate to Website > Blog.
-

- on a top right cornor you will see crreate new
blog button, once you click on the button you
are
able to see a three step procces form to create
a new blog.
- 1 Setup:
- On a first step you can see some field with blg title and some mendatory content once you done with fillup click on next button, will go to next step.
- 2 Select Tempate:
- In a second step it will ask for
selecting a template, you just
select a template
acording to your choice, Onece
you select a template ask you
for selectig:
- blog.html
- bloglisting.html
- you just need to select any of one, once you select click on create blog button will create new blog.
- In a second step it will ask for
selecting a template, you just
select a template
acording to your choice, Onece
you select a template ask you
for selectig:
- 1 Setup:
-